Hips and ridges are one of the most vulnerable parts of any roof and deserve proper protection while still looking their best. That’s why IKO Ultra HP and IKO IR Hip and Ridge Capping Shingles were designed to provide a high-quality and high-profile alternative to using cut-up shingles on hips and ridges. IKO’s PROFORMAX Integrated Roofing Accessories include different types and widths of cap shingles to install as part of a multi-layered roofing system. They provide a stunning roofline and ensure that the roof can perform its best. This video details how to install hip and ridge cap shingles.
IKO Standard Capping Shingles are factory perforated for easy separation and made on a flexible fiberglass mat with an SPS modified adhesive on the granular surface for maximum wind resistance.
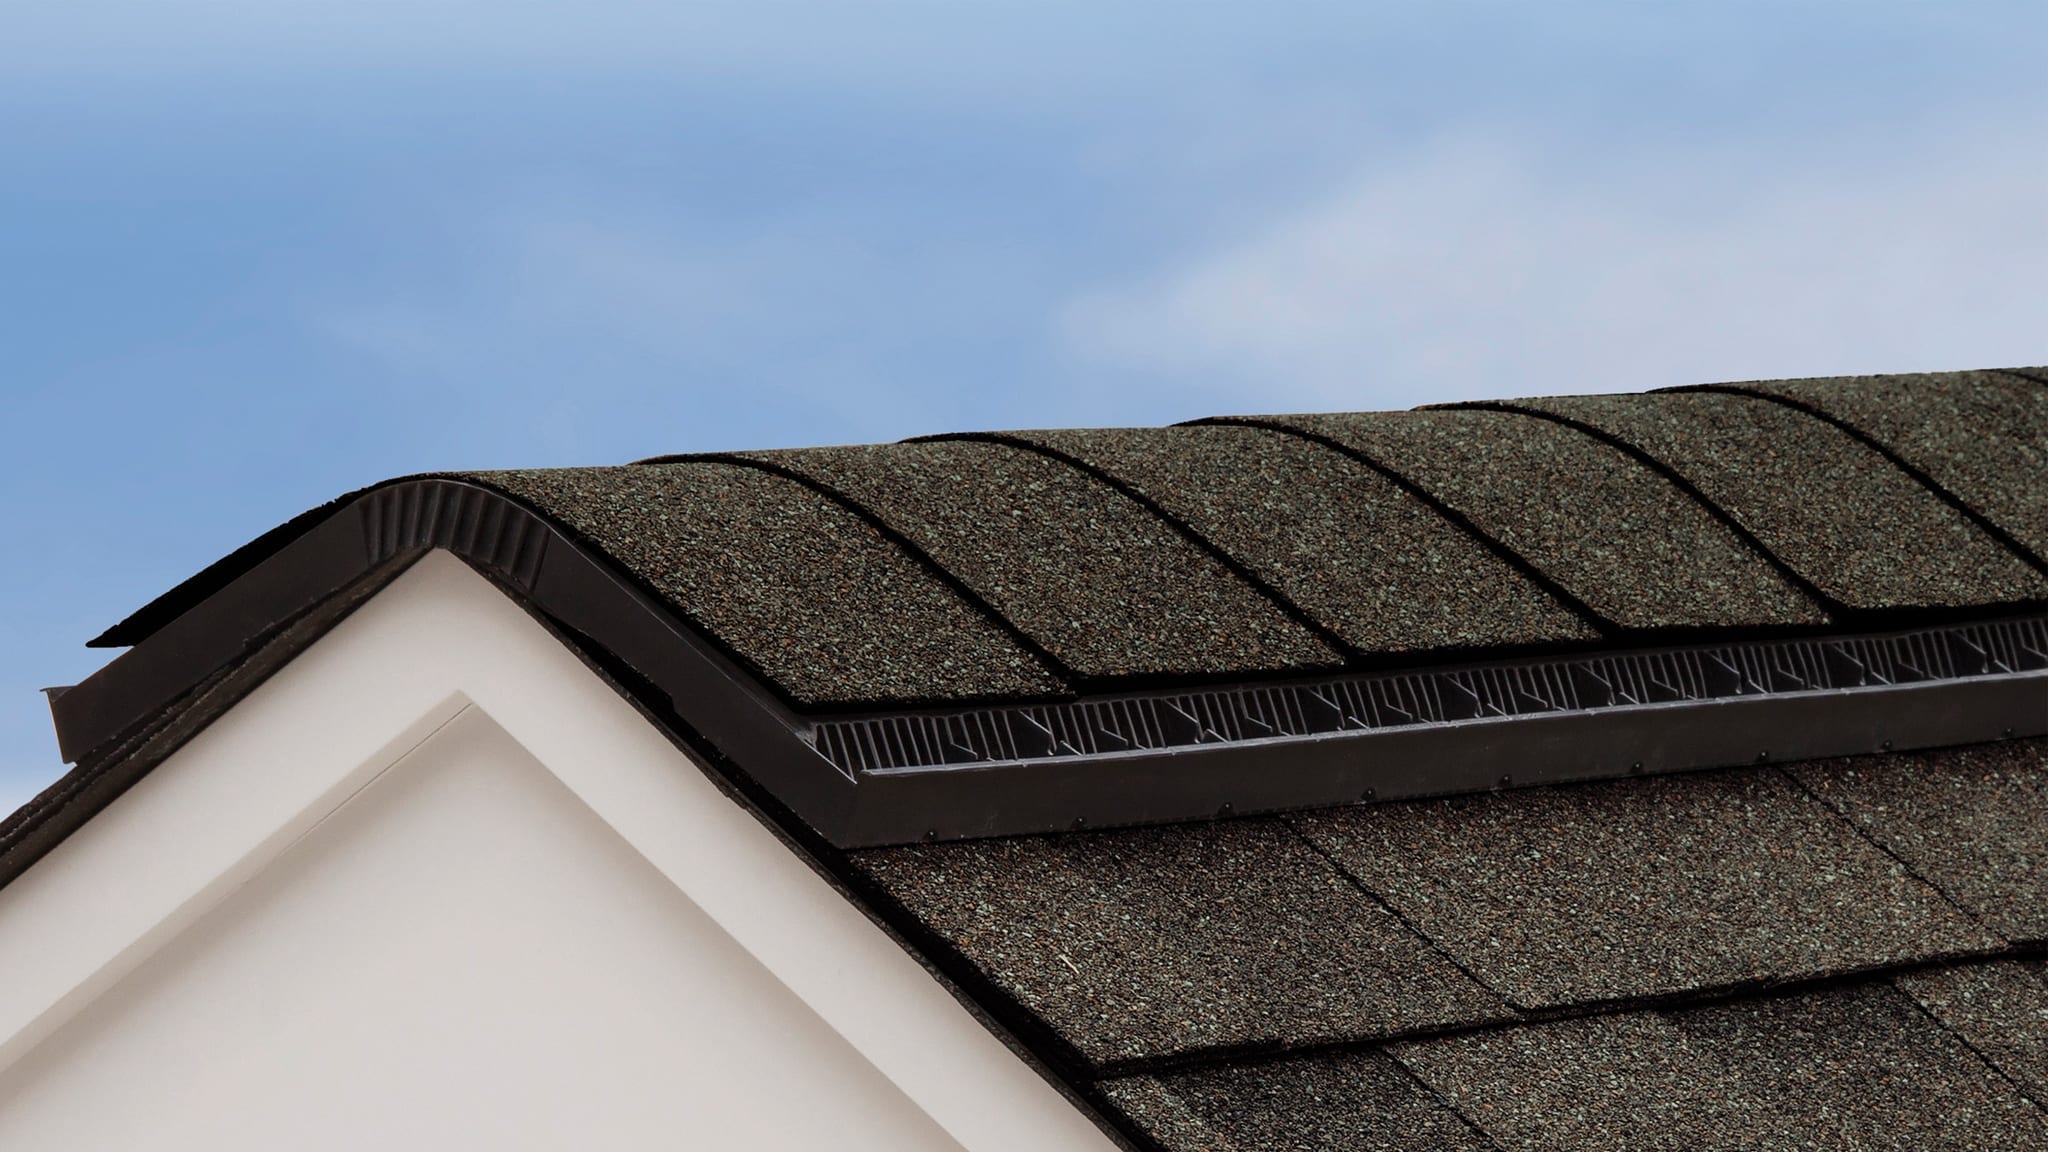
Apply shingles up to a hip or ridge from both sides of the roof before you finish the intersection. Apply cap shingles in a traditional single-dimensional thickness in appearance, or as a double thickness by stacking two pieces on top of one another to create a three-dimensional effect. Use the perforation marks to separate the cap shingles into pieces and bend each piece over the hip or ridge and overlap successive pieces to yield a 5 5/8 ich exposure, which is how much shingle is exposed on a ridge cap. Nail on each side of the capping piece below the factory-applied sealant buttons.
If you’re installing an impact resistance shingle, such as IKO Nordic, use coordinating Ultra IR Ridge Cap Shingles. In high wind areas, seal each IKO Ultra HP shingle with two 1 inch spots of asphalt plastic cement. For extra definition, install IKO Ultra HP at the gable and rake edges as well.
Apply hip shingles starting at the lower end of the hip and work your way up towards the ridge. On roof hips, apply ridge shingles starting at each end and meet in the middle. Set the final shingle and asphalt plastic cement and cover the exposed nail head to the final shingle with a cement tube.