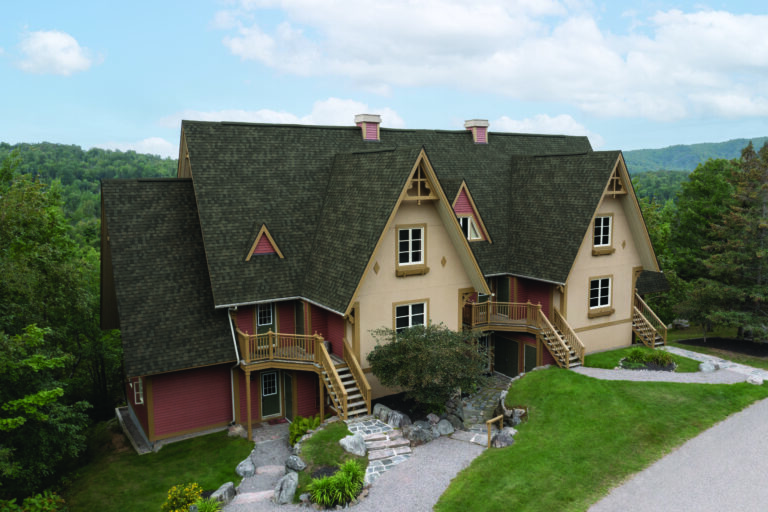
How to Tear Shingles Off a Roof
How to Tear Shingles Off a Roof
Table of Contents:
- Step One: Determine if the existing shingles need to be removed
- Step Two: Ensure that the materials for the new roof are ready and on-site
- Step Three: Plan for debris and removal of the old shingles by positioning your trash can nearby
- Step Four: Gather your tools
- Step Five: Begin prying off the shingles on the opposite edge of the roof from your garbage bin
- Step Six: Follow safety precautions and do not carry too many shingles at once
- Step Seven: If you plan on stripping off the flashing as well, do so while you move across the roof
- Step Eight: If you find ice and water protector, you will not be able to get it off
- Step Nine: Clean up your property at ground level
Disclaimer: Please use caution when working on sloped roofs. If you have any concerns about working on a roof, hire a trained professional.
So, you have an old roof, or at least a roof that needs to be replaced, and you’re considering tearing off the old asphalt shingles. The essential process you’ll follow to tear shingles off a roof is listed below, with a detailed explanation of each step.
1. Step One: Determine if the existing shingles need to be removed. If you’re in doubt, an experienced contractor can help you understand the pros and cons of installing new shingles on top of the old ones.
For many years, roofers have successfully installed a new layer of shingles over an old layer. So, you need to ask yourself whether or not removing the old asphalt shingles is necessary for your roof. It’s a frequently asked question: Are two layers of shingles a problem? Not necessarily. If your roof is well-constructed, and the old shingles are relatively flat, consider roofing over the old shingles.
However, it seems like the more common approach these days is to tear off the existing layer. And there are benefits to doing so, including:
- You get a chance to inspect the deck for any weak or rotted areas and make repairs prior to installing the new layer.
- Some shingle manufacturers’ limited warranty coverage may require the old layer be removed.
- Some shingle properties (for example impact resistance) may have only been evaluated on shingles applied directly to the deck. An underlying old shingle layer may affect those roof performance properties.
- And, of course, a new layer of shingles applied directly to the roof deck has the best opportunity to look smooth, uniform and flat.
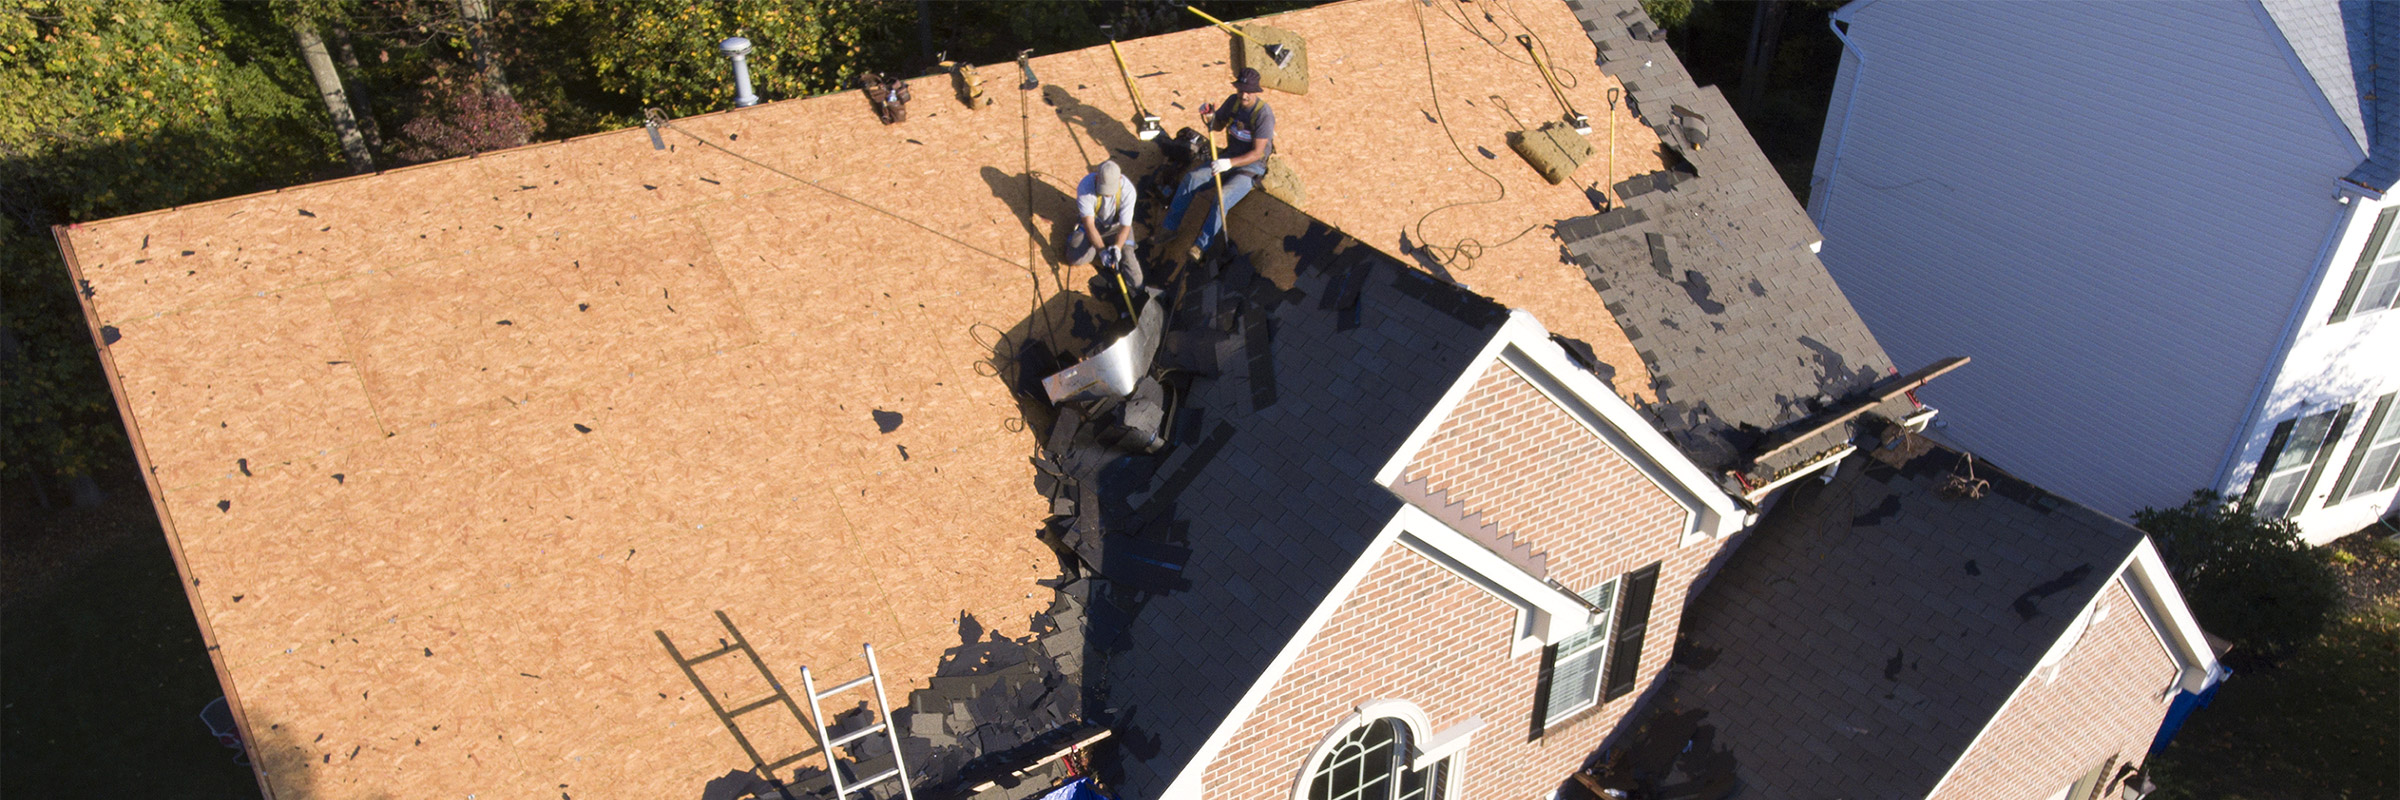
Although removing asphalt shingles requires less roofing knowledge and training than the installation of the new layer, it is still a lot of work. Maybe you’re not afraid of hard work, but also remember you’ll be working on a sloped surface, using tools you likely have never used before.
So, the first step should perhaps be calling some experienced contractors to do the work. In fact, quite likely the quotes you have obtained for your new roof include costs for the tear-off process anyway. Sure, you may save a few bucks tearing it off yourself, but aside from the effort, you’ll then be faced with the additional hassle of perfectly coordinating the installation of your next roof so your roof won’t be left exposed—which brings us to the next step in the process: Make sure your new materials are ready.
2. Step Two: Ensure that the materials for the new roof are ready and on-site. That way, the roof will be left exposed for as little time as possible.
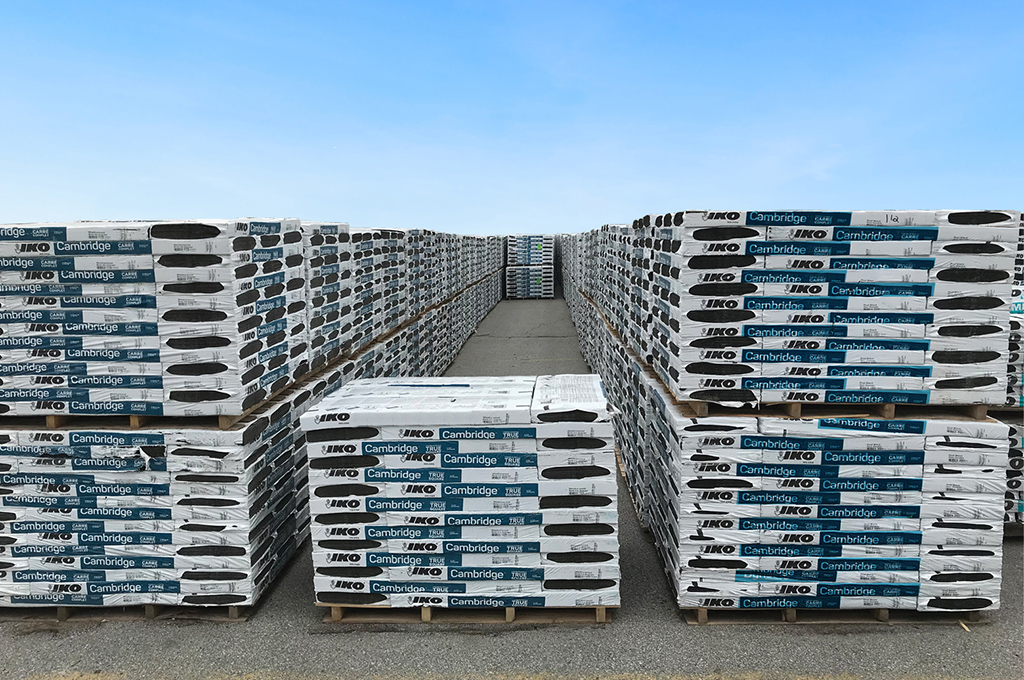
Off with the old, and on with the new, right? This is a fairly obvious step in tearing shingles off a roof, but, occasionally, an eager homeowner may not plan ahead and get him/herself into an awkward situation. The obvious step is this: Make sure you have the materials and labor for your new roof all delivered, arranged and ready to install before you start ripping off your old roof.
Whether you intend to install the shingles yourself, or have contracted with a roofer, you don’t want your roof deck left exposed after the tear-off; so, plan ahead for the new roof to go on immediately. This may take a bit of fine-tuning to work around unfavorable weather forecasts and possible delays in the tear-off process.
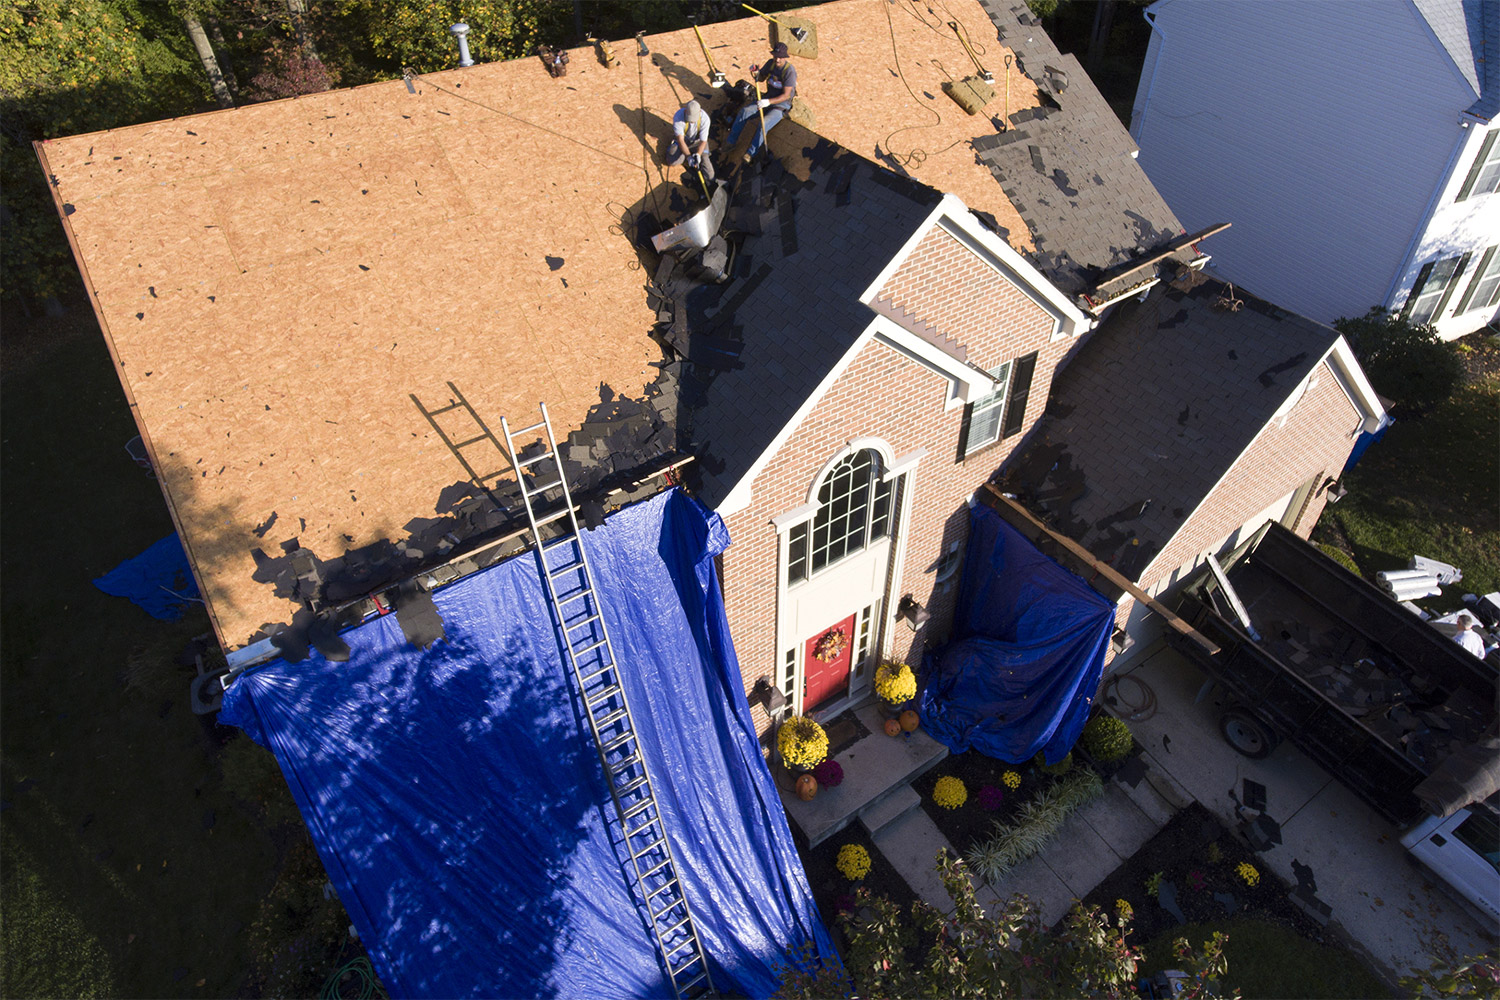
3. Step Three: Plan for debris and removal of the old shingles by positioning your trash can nearby. You will also need to cover the ground beneath the eaves with tarps to catch stray shingles.
Just as the disclaimer says at the beginning of this article, use caution when working on sloped roofs. If you have any concerns about working on a roof, hire a trained professional who knows and follows all the required safety regulations.
One of the key safety practices in tearing shingles off a roof is avoiding all the debris that will be generated. All that scrap ends up making the roof surface even more difficult to move across. And the old shingles may not lift off without a fight; so, be careful when prying and lifting that the shingles don’t suddenly release, which can send you flying.
To help keep the roof site as safe as practical, position your trash bin in a readily accessible location, so the old shingles can just “slide” into the bin. Contact your local waste management company to book your trash bin ahead of time.
When you rip the old shingles off your roof, they are not likely to come off like a clean and neat old carpet, but in various sized “patches.” There will be bits of broken shingles everywhere; and try as you might to get every bit into that trash bin, some scraps are likely to slip and slide off in different directions. And if it’s a wee bit windy, those bits can fly further.
So, as a precaution, it’s a good idea to cover the ground around the house beneath the eaves with tarps or sheets of plywood. This will help protect scuff marks and prevent damage to your home’s walls and to your gardens and landscaping, and will make cleanup go much faster.
4. Step Four: Gather your tools. A square-edged shovel may work, but a modified shovel-type tool has been designed specifically to pry up old shingles.
If you want to remove old asphalt shingles yourself, you can try using a standard square-edged shovel to tear them off; but the best device is a modified shovel-type tool, specifically designed for this purpose. It has a serrated front edge to grab under the nails, and a raised “foot” on the back to add leverage to make it easier to tear off roof shingles. That’s the key tool you’re going to need, and you likely don’t have one in your shed, all the more reason to hire a professional.
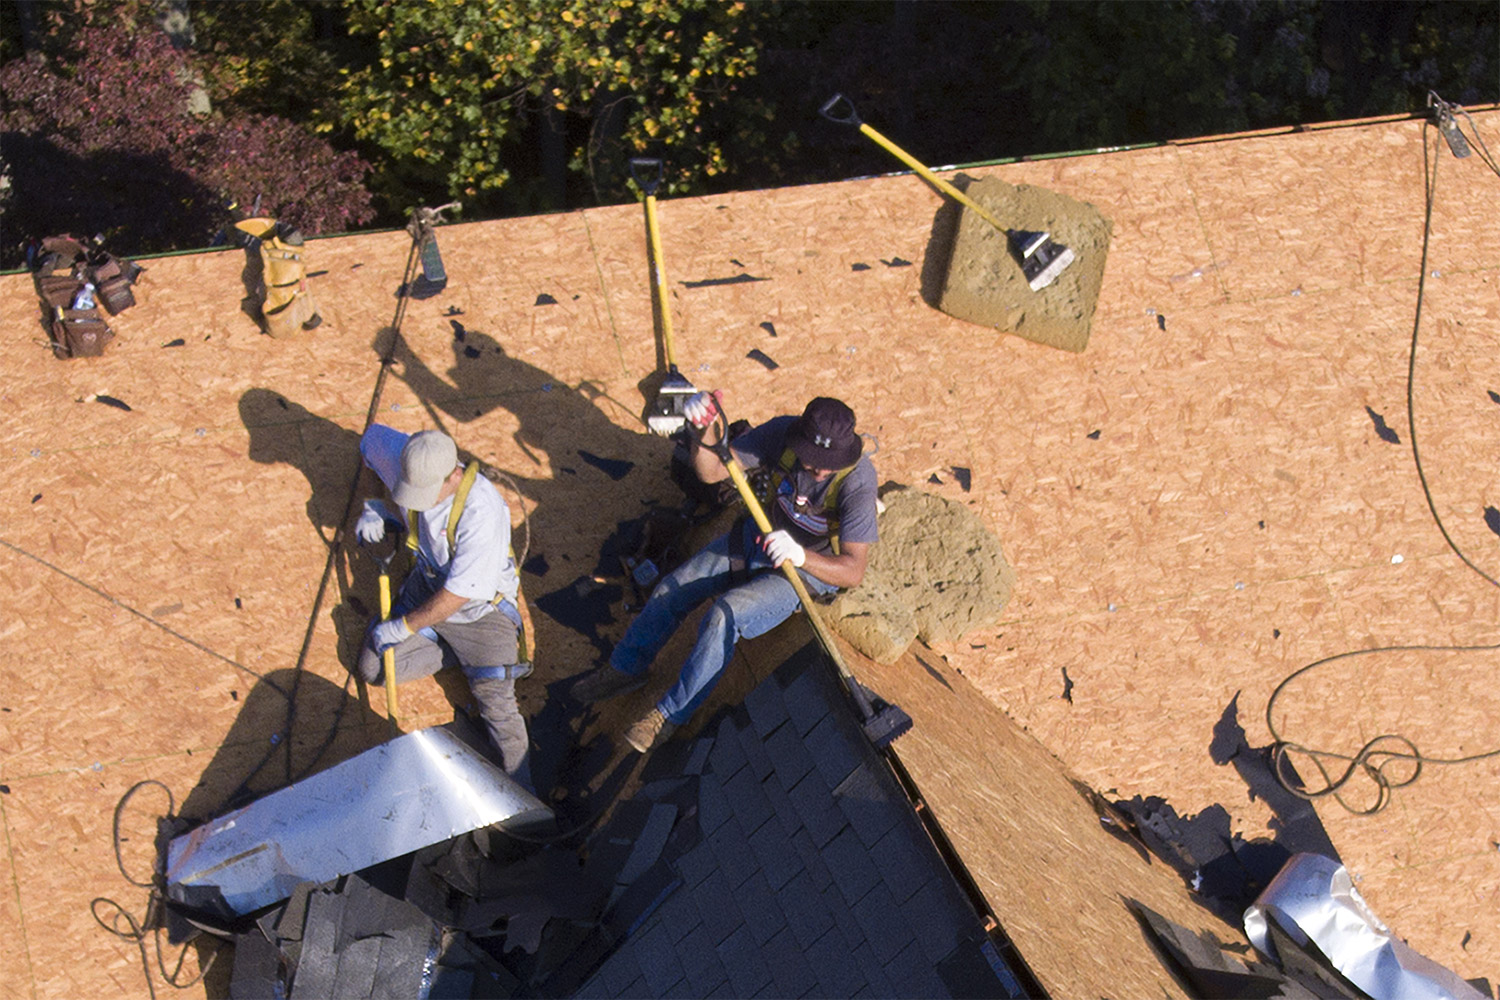
Besides the roof-stripping shovel tool, you’ll need things like a broom, some good work gloves, safety googles, a ladder and a smaller pry bar or hammer for those stubborn nails and flashing bits. You’ll also need some tarps and/or sheets of plywood. Oh, and you should call your friends, all of them; they’ll come in handy when you realize this involves a lot of effort.
5. Step Five: Begin prying off the shingles on the opposite edge of the roof from your garbage bin. Drive your shovel under the lower shingle edge and use leverage to pry it up.
So, there you are, safely standing on your roof, holding your shiny new roof stripping shovel tool in your neatly gloved hands. Now, where does one actually start? While each roof is different and may present its own unique geometries and logistic challenges, as a rule, it’s best to start furthest away from the trash bin. That should make it a bit safer and cleaner to travel across the roof as you take your garbage to the bin.
It’s best to remove the ridge caps first by themselves, and then start on the shingles in the adjacent field of the roof. Drive the shovel up under the lower shingle edge, a few shingle courses below the top of the roof. Lift up, and voila, you should have a few loosened shingles. Repeat until all the shingles are detached from the deck.
6. Step Six: Follow safety precautions and do not carry too many shingles at once. Take care not to box yourself in as you move across the roof.
As you continue to clear the roof, you’ll notice that it gets very messy with loose bits of shingles and many stubborn nails still in the deck. Each of those elements is a trip hazard; so, you should deal with them every now and then to keep your path safe and clear. And don’t try to carry too many shingles per trip to the bin. It’s safer to make a few more trips with more manageable, lighter handfuls than to try and carry too much weight. Remember, shingles are heavy — a patch of even five or six old shingles could weigh 20 – 25 pounds.
7. Step Seven: If you plan on stripping off the flashing as well, do so while you move across the roof. If your flashing is in good condition, this may not be necessary.
After much effort of prying and lifting and pulling, eventually, all the shingles will be off your old roof. As you progress, you’ll also have to decide how to deal with the other roof elements, such as the vents and flashing. Most often on a tear-off, it’s simply easier to also strip off the flashings as well, especially if you’re not a professional, as they’ll be more likely to be damaged. If your flashings are in good condition, and you want to try to reuse them, pry them up with a smaller pry bar or hammer to minimize damage.
8. Step Eight: If you find ice and water protector, you will not be able to get it off. Decide if you want to remove it by replacing the roof deck beneath it or if you’d rather apply a new layer of ice and water protector over it.
In the old days, roof tear-offs were pretty straightforward — shingles, saturated felt and then the flashings. However, self-adhesive ice and water protectors were introduced to the roofing industry, particularly in cold-climate regions, about 30 years ago. These membranes adhere to the roof deck and are most often used in the eave area, covering the lower three to six feet of deck. The challenge is that they usually do a good job of adhering to the deck, especially after many years of summer heat, which works to fuse the membrane to the oriented strand board (OSB) or plywood substrate. These membranes cannot be lifted with that shingle-stripping shovel.
You’ll be faced with two options — either cut and replace the deck in the affected area or leave the membrane there and roof over it. If you choose the second option, you’ll need new ice and water protector as the old membrane won’t have the same watershedding integrity once you’ve removed all the shingle nails. Here’s a good tip: To reduce the appearance of a “ridge” from what will end up being two layers of ice and water protector, install the new membrane slightly higher than the old one, so that the upper edges of the old and new membranes don’t align. This “feathered edge” should be much less visible once the new shingles are installed.
9. Step Nine: Clean up your property at ground level using a magnetic roller/sweeper to find loose nails.
By following all the steps above, you should have your roof deck clean and clear, and ready for a new IKO shingle installation. Don’t forget to clean up at ground level, using a magnetic roller/sweeper to pick up as many of the loose nails as possible. You don’t want your lawn mower to find them next time you cut the grass, and you certainly don’t want to find them with your bare feet on a nice sunny, summer day—maybe while you’re in your front yard showing off your new roof to your neighbors.
A reputable, qualified roofing professional can help you with the shingle removal process as well as re-roofing. To find such a professional roofing contractor near you, use our contractor search tool.