When it comes to protecting your home from the elements, few components are as vital as roof flashing. But when installed improperly, flashing can become the hidden culprit behind water damage, potential mold growth and costly structural repairs. That’s why flashing installation isn’t a DIY project — it’s a job that should always be left to experienced roofing contractors.
To better understand why expert installation matters, let’s walk through the primary types of roof flashing and the proper techniques used in each application.
Please note, these tips are meant to guide trained contractors in their work, not encourage homeowners to DIY their roof repairs.
Roof Flashing Techniques
There are three common techniques for installing roof flashing, each of which is suitable for specific areas of a roof.
Step Flashing
Step flashing is a series of bent segments that is best used where the roof face meets a wall, such as where a dormer projects out of the roof. Flashing directs water away from the wall.
Step flashing is installed in steps with layers of shingles between them. The result is a series of flashings that allow water to pour down each layer and eventually into the gutter system.
Counter-Flashing
Counter-flashing is used when two different materials meet on a roof — most commonly between the roof and chimney. This technique requires two pieces of flashing:
- The base flashing, which attaches around the bottom of the chimney.
- The counter-flashing, which is embedded into the masonry of the chimney.
The counter-flashing sits over the base flashing to help ensure water doesn’t slip behind and enter the roof system.
Plumbing Vent Boot Flashing
Boot flashing is a cylindrical piece of flashing that fits around vents. This flashing creates a dome of protection around the vent. This added height of the tight-fitting flashing helps water run past the vent without seeping into the home. Shingles are then installed over the base of the flashing.
How to Install Roof Flashing
Roof flashing should always be installed by professional roofers who understand the best practices, safety requirements, building codes and laws in their area.
The below tips are meant to guide contractors through the roof flashing installation process.
Inspect and Prepare the Roof Surface
As is the case with any roof material installation, you must first inspect the roof to ensure there is no existing damage or areas that are letting water into the building.
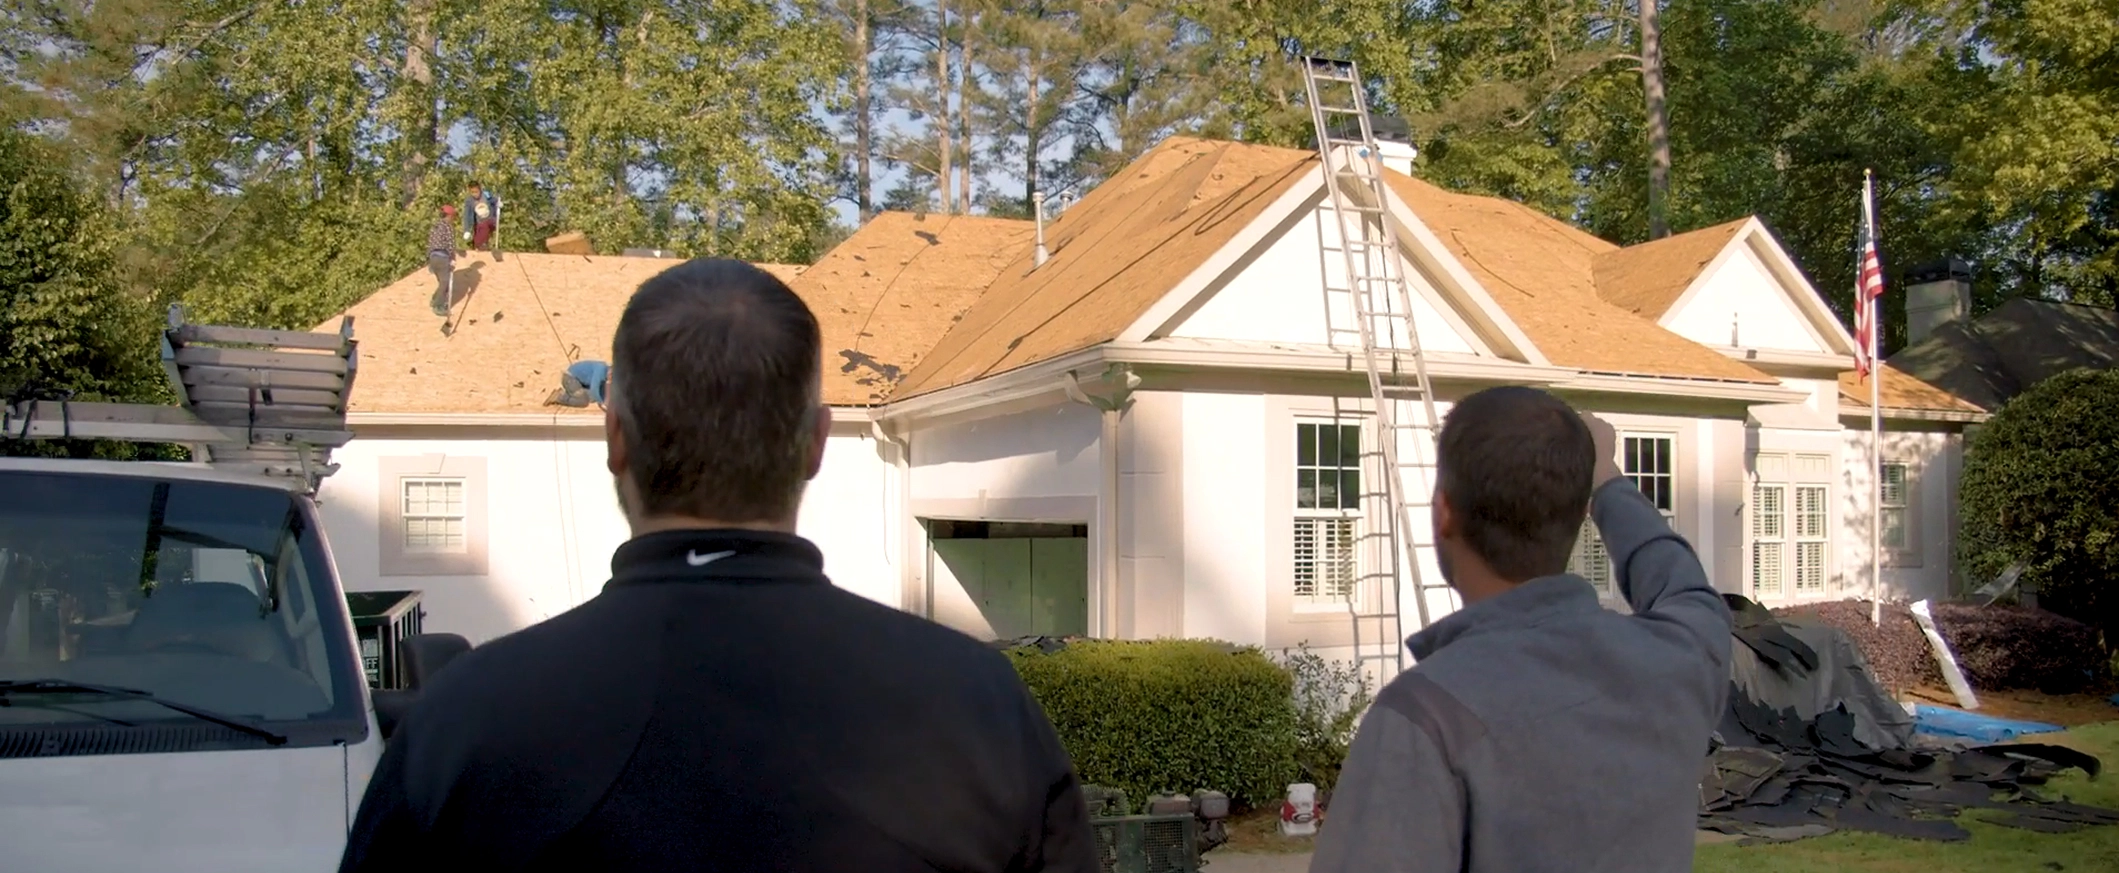
Preparing New Roofs vs Re-Roofs
New roofs offer a much more straightforward approach to roof flashing installation because you have a clean slate to begin with. Simply ensure the deck and all roof penetrations are installed correctly and are ready to be flashed concurrent with the shingle installation.
Re-roofs, where a new layer of shingles is installed over the existing roof, require much greater attention to detail. Roofers will need to evaluate old flashings, inspect for leaks and check for water stains in the attic to determine flaws or weak points in the existing roof.
If any stains or moisture issues are revealed, you’ll need to determine the cause and consider how the old flashing approach and materials may need to change or improve during the re-roof.
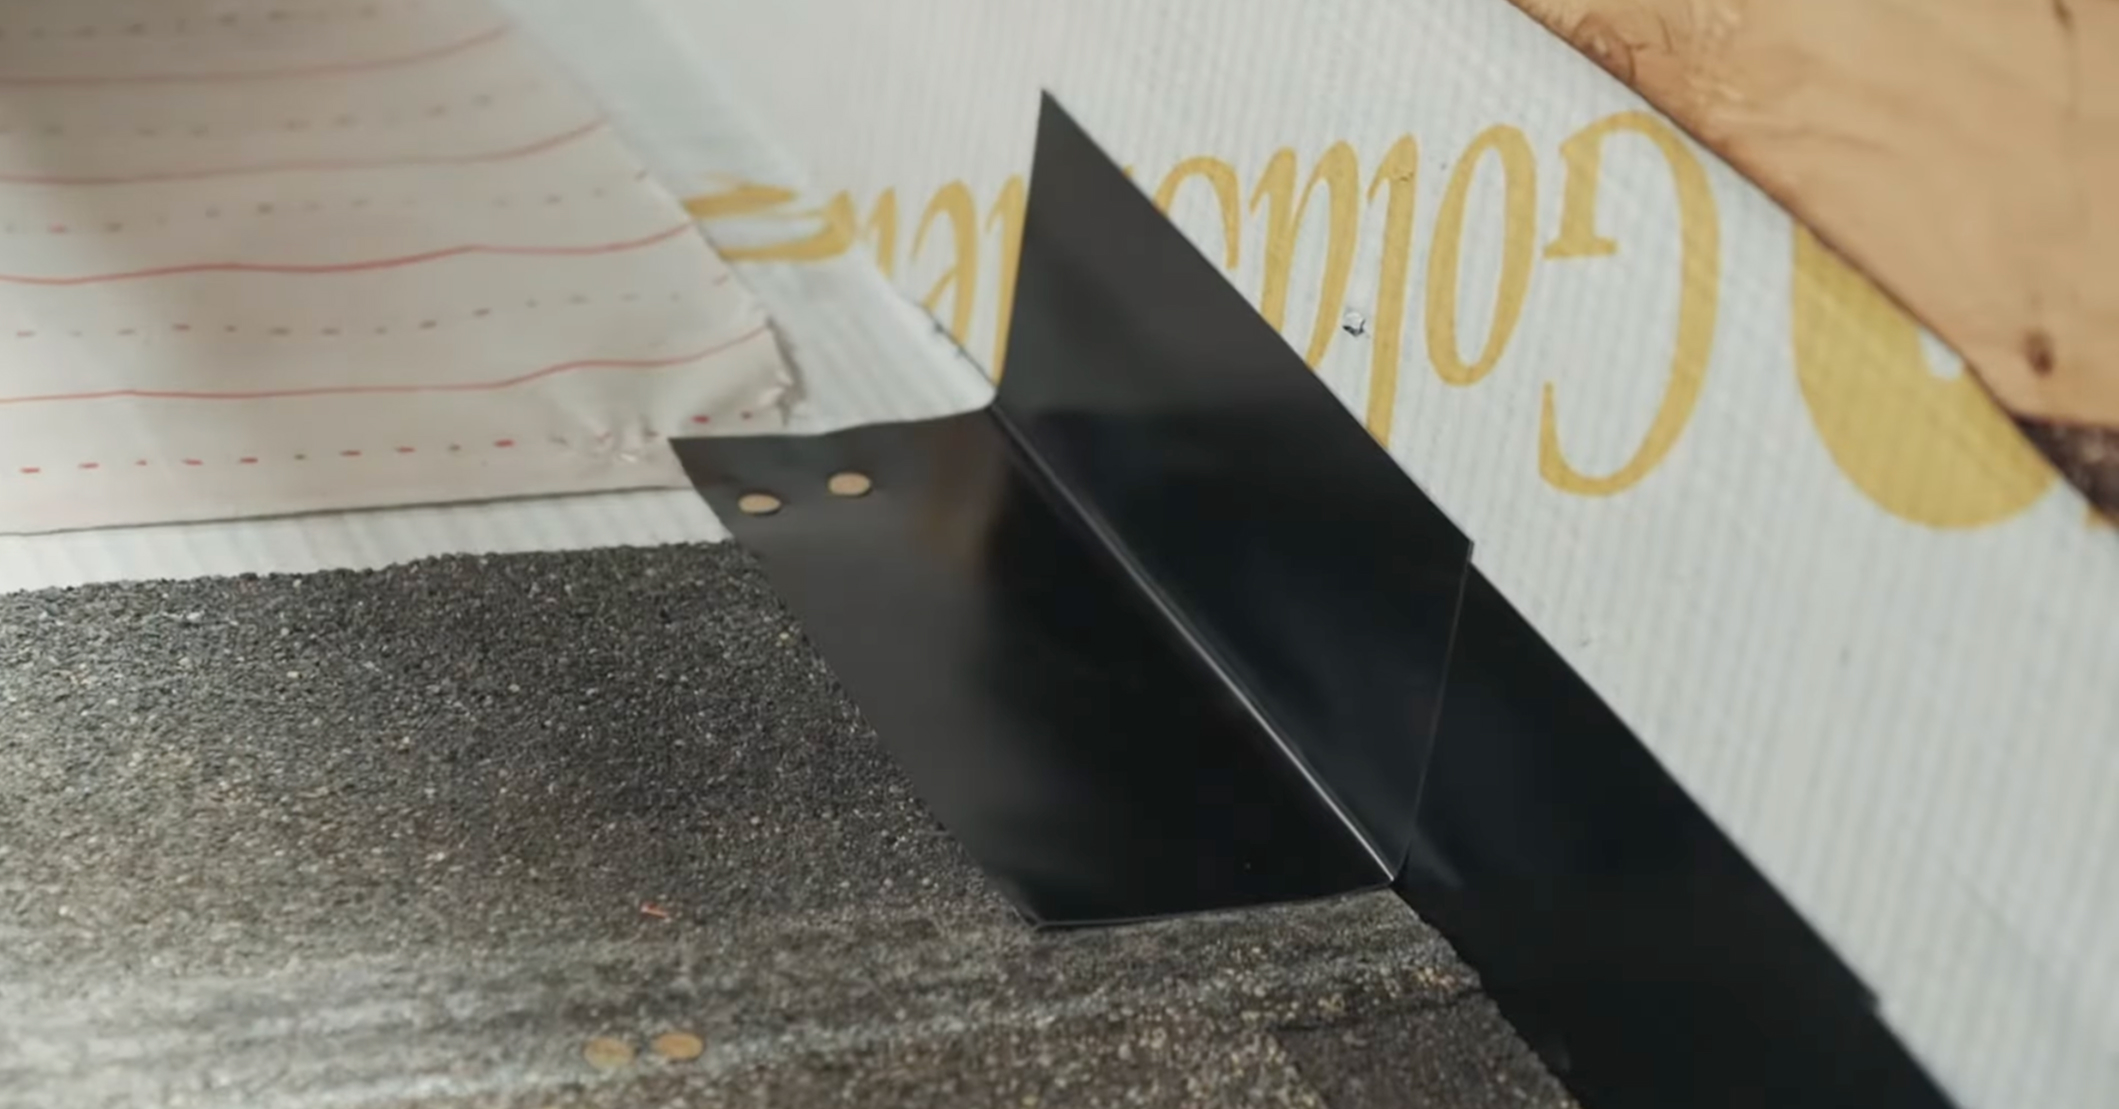
Measure and Cut the Flashing
Measure all of the areas where you need flashing. While many areas may just need a flat piece of flashing, you will often need to create corner pieces. You can do this by cutting and bending a typical step flashing piece. Here is a simple step-by-step process:
- Cut a 45-degree line from an outside corner to the center fold.
- Cut along the center fold and remove the resulting triangle.
- Bend the step flashing tightly around the corner, ensure it sits flat and extends at least eight inches above the shingles.
If you do not wish to form your own corner flashing, you can buy pre-bent pieces and cut them to size.
Install Flashing Against a Wall
Flashing needs to be installed simultaneously as you install your shingles on the roof deck. This ensures the upper elements (shingles and flashings) lap the lower elements so water never has a chance to “enter” the roof system.
If There Is a Wall Corner
Install underlayment and shingles all the way up to where the wall begins. Create the corner flashing piece (as was described above). After placing the corner piece, nail it in place with two nails, one on each side of the top edge.
Place the second piece of flashing and bend it to overlap the corner flashing. Remove this second piece and apply your sealant where the flashing will overlap. Then, set the second piece back and nail it in place with two nails.
Important Note: When nailing flashings in place, only use two nails. Each step flashing piece is nailed into the roof deck only, not the wall, and not the roof AND the wall. Nailing to the roof deck only ensures any differential movement between the roof plane and the wall plane will not compromise the flashing integrity.
If There Isn’t a Wall Corner
If your roof face connects to the wall without creating a corner, for example where a dormer or upper story intersects the roof very close to the eave, you will need to install a kickout flashing at the base to guide water into the gutter. Place your kickout flashing at the base of the roof and snugly against the wall. Apply roofing cement where it will sit.
Place the first piece of step flashing over the end of the starter strip, ensuring it leads directly into the kickout flashing. Secure it to the roof deck with roofing cement and two nails.
Once the kickout flashing is installed and secure, you can begin installing shingles and step flashing.

Install Flashing on the Roof
Shingle your roof all the way up to any vents. Install boot flashing around the vents so they rest on the shingles below. Then apply your sealant and nail the flashing in place on the roof. Install shingles above the boot flashing, cutting a curved edge out of the shingle to fit around the flashing to ensure they extend over the base of the flashing.
For counter-flashing on chimneys and other structures, ensure the base flashing is in order and secured to the roof. Then cut an indent — also called a reglet — into the chimney using a tool such as an angle grinder. This is where you will hang your counter-flashing. Insert the counter-flashing into the indent, ensuring it overlaps with the base by at least two inches.
Secure the counter-flashing to the base flashing and chimney with roofing cement and seal the indent with roofing caulking.
Secure and Seal the Flashing
Make sure to secure each piece of base flashing with nails and roofing cement as you go.
Consider also using roofing caulking so your flashing has an added layer of protection. However, remember that roofing caulk is NOT flashing, nor is it a secure way to divert water away from the cracks and seams of your roof. Caulk is only to be used as a secondary protection in select circumstances.
Can You Reuse Old Flashing?
Re-using old flashing is an incredibly nuanced topic. Andy Lodge from Burden of Roof Technical Services comments that insurance providers are becoming less likely to pay for complete roof replacement, often insisting contractors reuse existing flashing.
That said, the general consensus of roofing professionals is that flashing should not be re-used, regardless of insurance procedures. Several reasons for this position include:
- Difficulty of removal: Removing flashing is not delicate work, which can damage a lot of the flashing. Metal roof flashing is also relatively thin and will likely bend during removal.
- Existing nail holes: Old flashing is riddled with nail holes that likely won’t line up with the new nail holes. This results in a piece of metal that’s filled with holes and won’t effectively divert water.
- Aesthetic issues: The old flashing color might not complement the new shingle roof, and will likely be bent or discolored compared to new flashing pieces.
How to Repair Roof Flashing
Fixing roof flashing, just like installing flashing, is best left to roofing professionals. Reminder, these tips are meant to guide trained contractors in their work, not encourage homeowners to DIY their roof repairs.
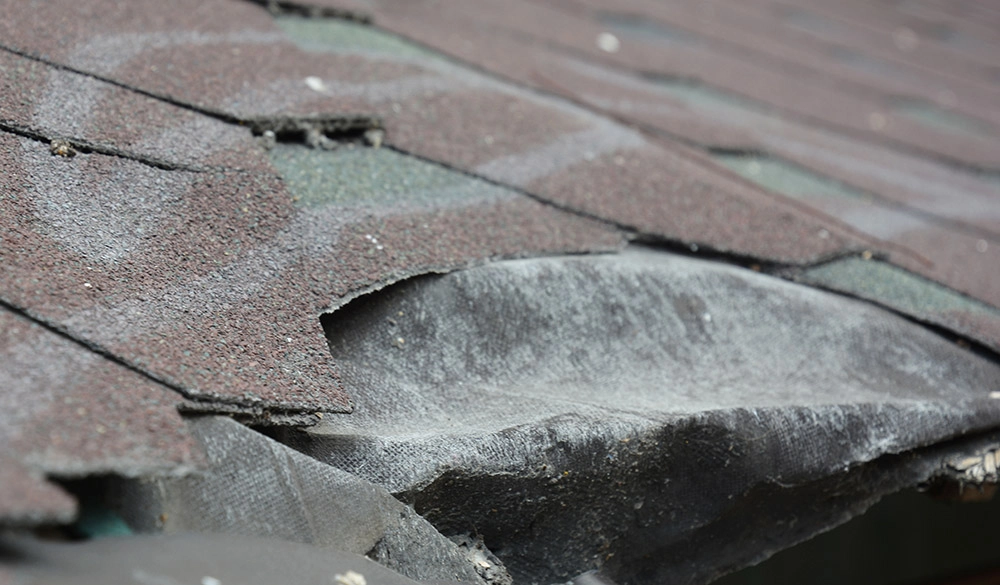
Detect Roof Flashing Damage
Roof flashing should be repaired if there is any:
- Significant wind damage or holes.
- Corrosion or rusting.
- Loose or missing nails.
- Dried out or missing sealant.
- Flashing that has come loose.
Detecting a dysfunctional flashing is not always obvious — if you’re not sure what to look for. Contractors can look in the attic on a sunny day for light leaks around chimneys or plumbing stacks. If light can be seen through these joints, water can potentially get through.
Water stains in the attic are also indicative of flashing issues, but they could also be the result of poor ventilation, condensation or insufficient insulation issues. Trace the water stain back to its highest upslope point in the attic to locate the issue on the roof.

Repair Roof Flashing
Roof flashing repairs should follow the basic concept of “make it look like it should.” Here are some tips to best approach this principle:
- Carefully pry up shingles surrounding damaged flashing — this may involve removing undamaged pieces of flashing as well.
- Take your trowel and gently remove any asphalt cement attached to the flashing.
- Check for damage under the flashing. If you find any damage, it will need to be repaired before the flashing is replaced.
- Replace and re-seal the flashing.
For step flashing repair, start at the topmost piece and work downslope. Reinstall flashing from the lowest point to the highest point to ensure proper overlap.
Chimney flashing repairs are usually focused on the counter-flashing, which is more exposed and can separate from the chimney brickwork. Shingle removal in this case may not be necessary. If the base flashing needs to be replaced, then the shingles and counter-flashing must be removed first.
Install Flashing with Precision
As a contractor, you know that even the smallest oversight in flashing installation can lead to major failures down the line. Flashing isn’t just a finishing touch — it’s a critical component of a weatherproof roofing system. Treat flashing with the attention it deserves. Follow best practices, educate clients on the value of proper installation and continue honing your flashing techniques.
Reminder: This article is a general guide for roofers. If you have concerns about your roof flashing, please speak with your local contractor for any repairs and specific advice.