TABLE OF CONTENTS:
- How to Replace Asphalt Shingles
- Step One – Break the seal on the target shingle
- Step Two – Break the adjacent seals
- Step Three – Remove the nails
- Step Four – Remove the adjacent nails
- Step Five – Out with the old shingle
- Step Six – In with the new shingle
- Step Seven – Reseal the shingles
How to Replace Asphalt Shingles
Simple Instructions to Remove and Replace Asphalt Shingles on Your Roof.
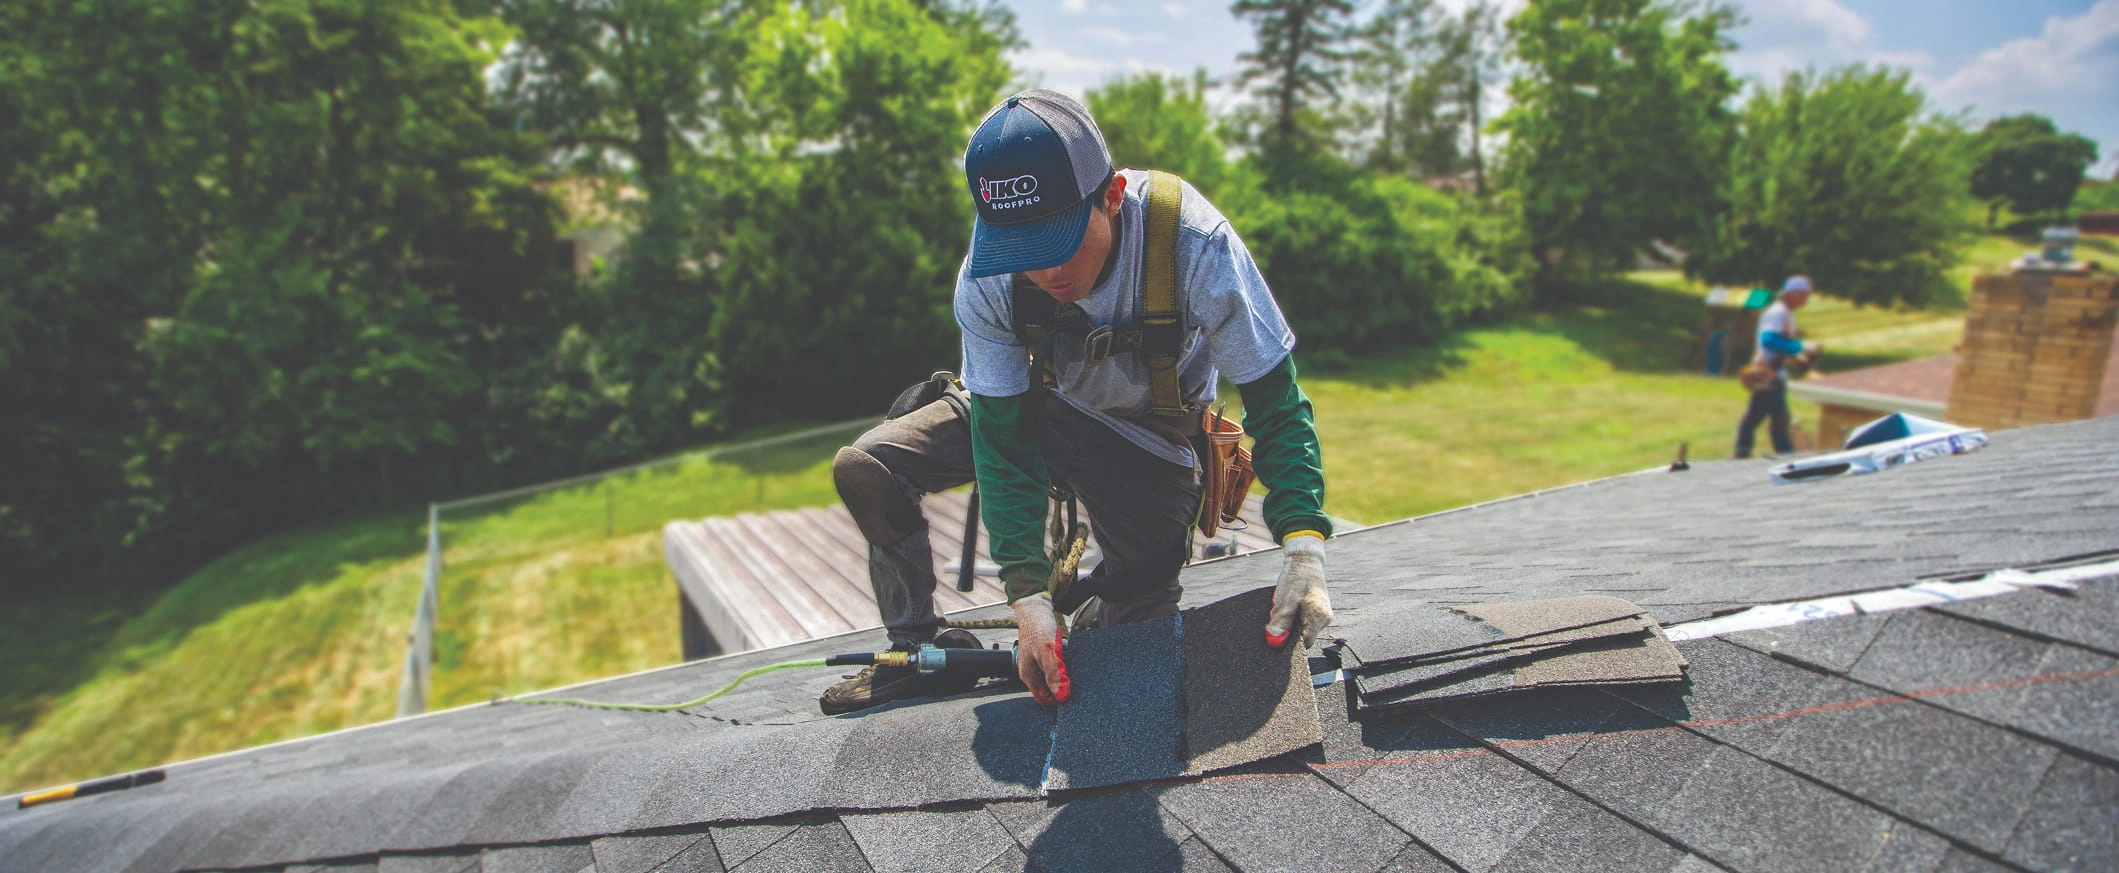
Asphalt shingle roofs, when properly installed, typically require very little maintenance — one of the main benefits of a shingle roof. However, there may be the odd occasion where a little fix is needed, and, fortunately, asphalt shingles can easily be removed and replaced in just seven steps. Even though the process is straightforward, IKO recommends that only properly trained professional roofing contractors engage in the shingling or repairing of roofs.
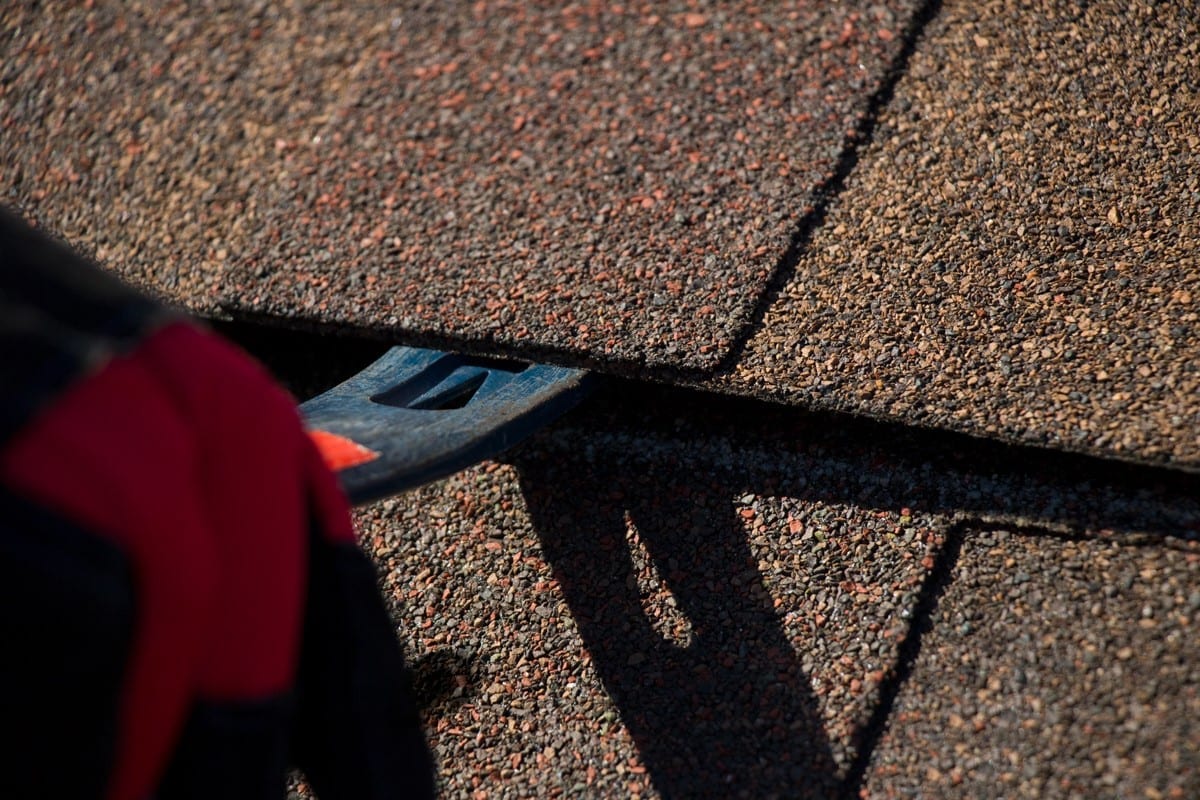
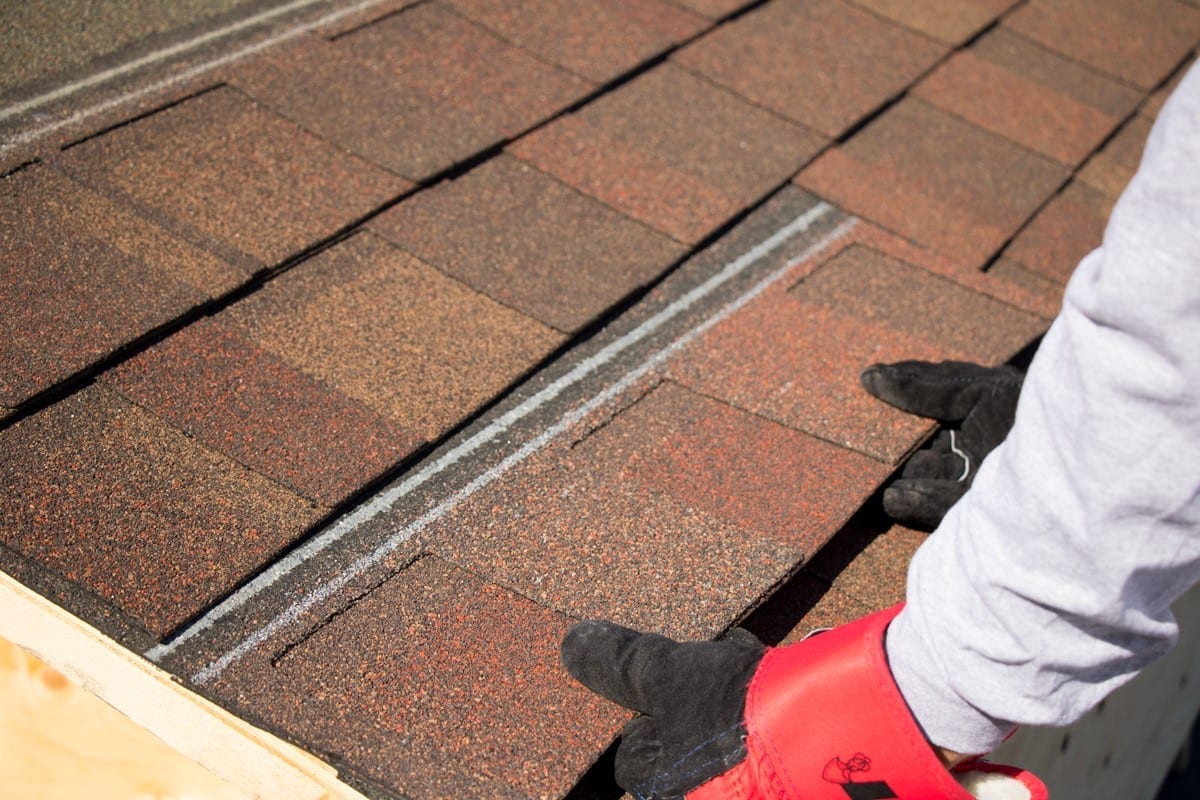
Step One – Break the seal on the target shingle.
The images below depict Sedona Dynasty with ArmourZone shingles.
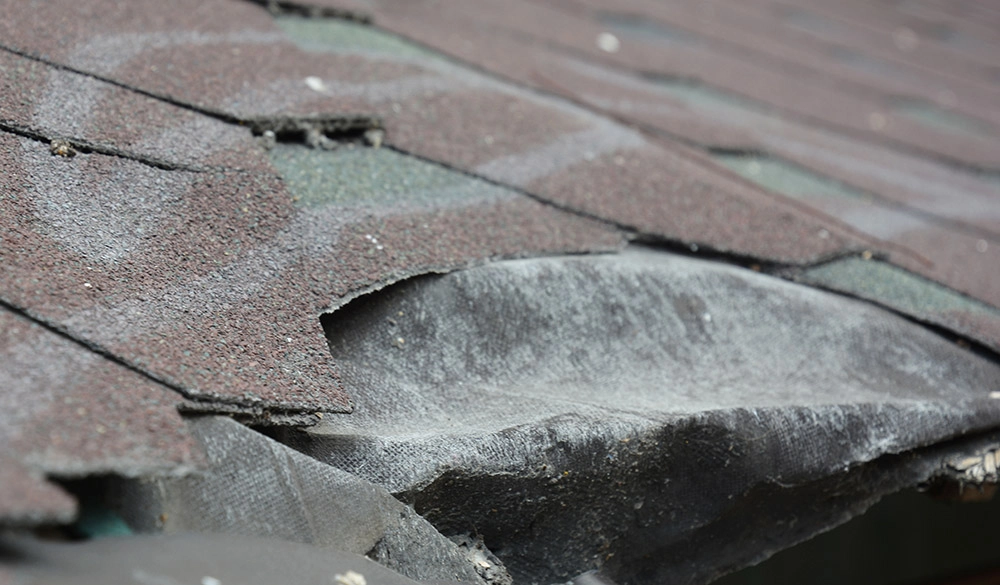
- In the photo below, the “target” shingle (perhaps it needs replacement due to damage from a falling object or roof pests) is located. (In these photos we’ve marked it with black spots.)
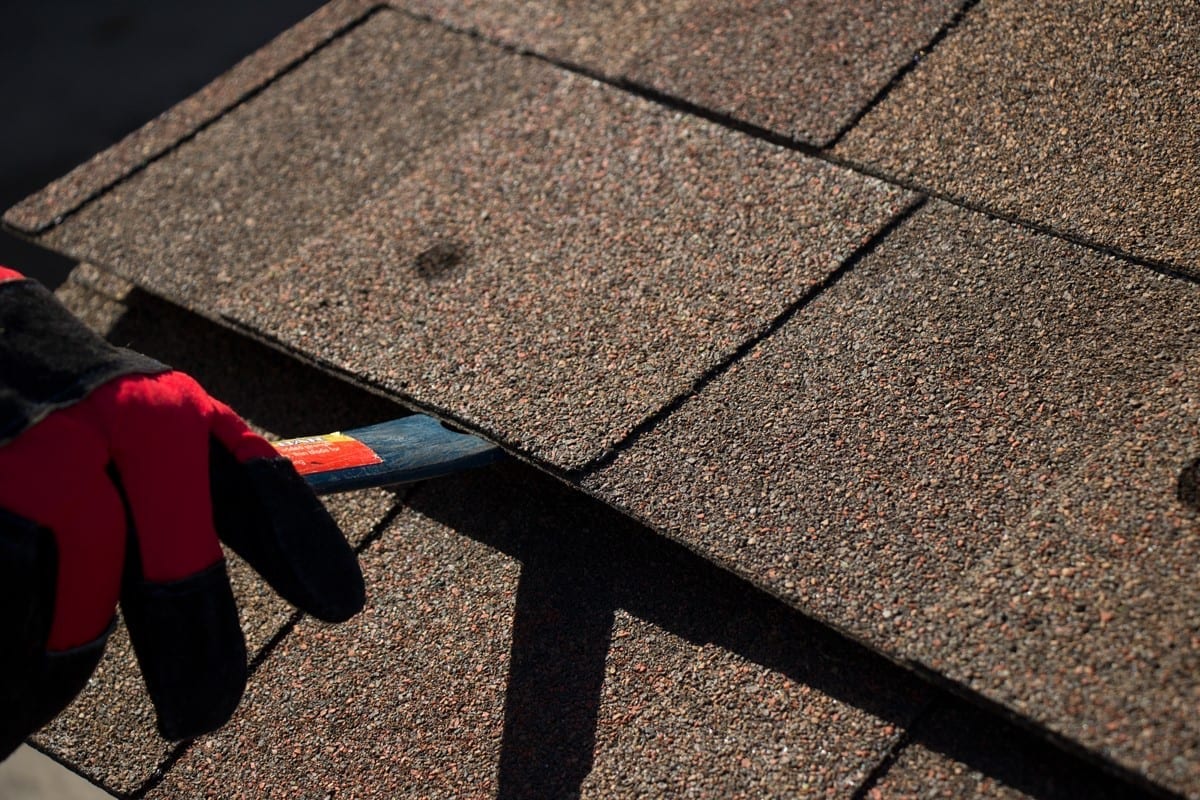
- The first step obviously requires the removal of the nails holding that shingle to the roof deck. To access the nails, the shingle will need to be lifted, but it is likely bonded to the shingle below by the shingles’ asphalt sealant spots. Although this sealant bond is quite strong (strong enough for the shingles to resist wind uplift), it can be broken by sliding a flat pry bar carefully under the target shingle’s edge.
- This sealant separation is best done in cool weather, as the sealant bond will be more easily sheared by the pry bar when cool — in hotter weather, the sealant will be more gooey and tenacious, and harder to separate cleanly.
A word of caution: In cooler weather, the shingles will be stiffer than in warmer weather. Exercise care to avoid distorting the shingles more than necessary.
Step Two – Break the adjacent seals.
- Once the sealant bond is broken on the target shingle, the same bond will need to be broken on the overlying shingle or shingles, so they can be gently lifted to expose the nails in the target shingle. (Since shingles in successive courses up the roof are installed offset from the courses below, you may need to perform that step on a shingle to the right or left of the overlying shingle as well).
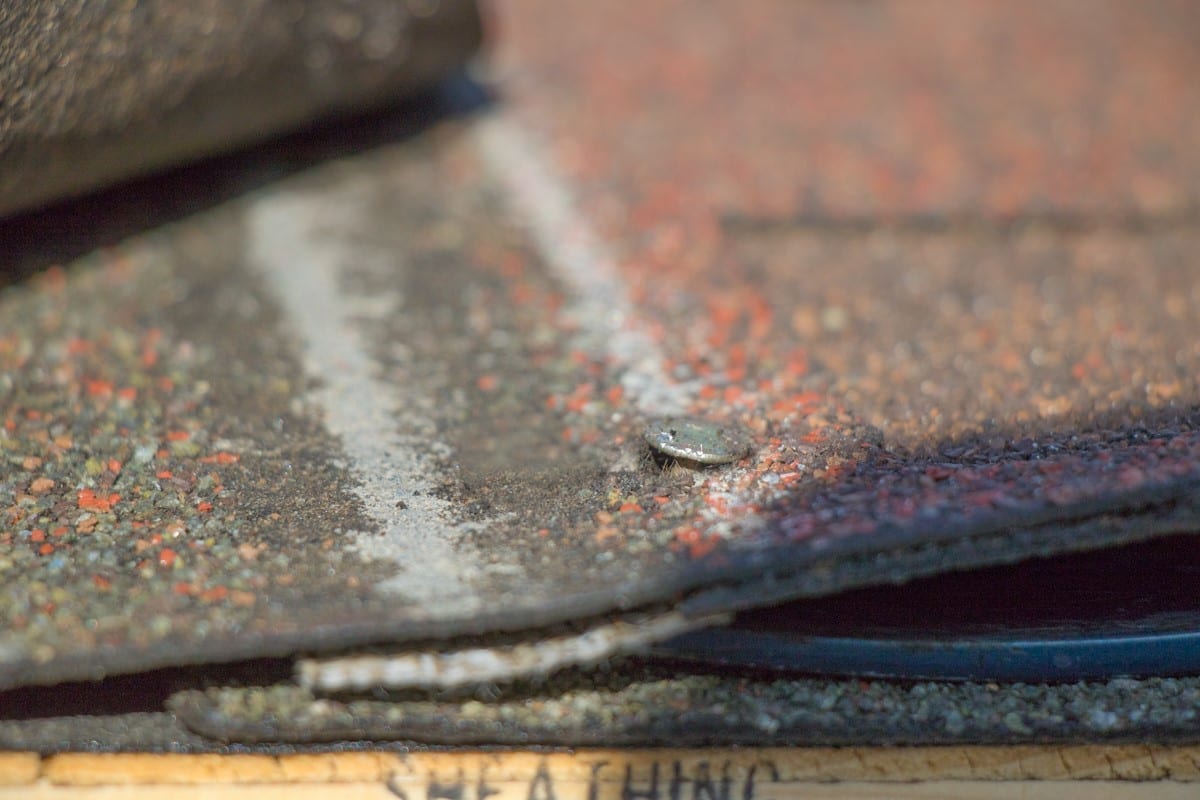
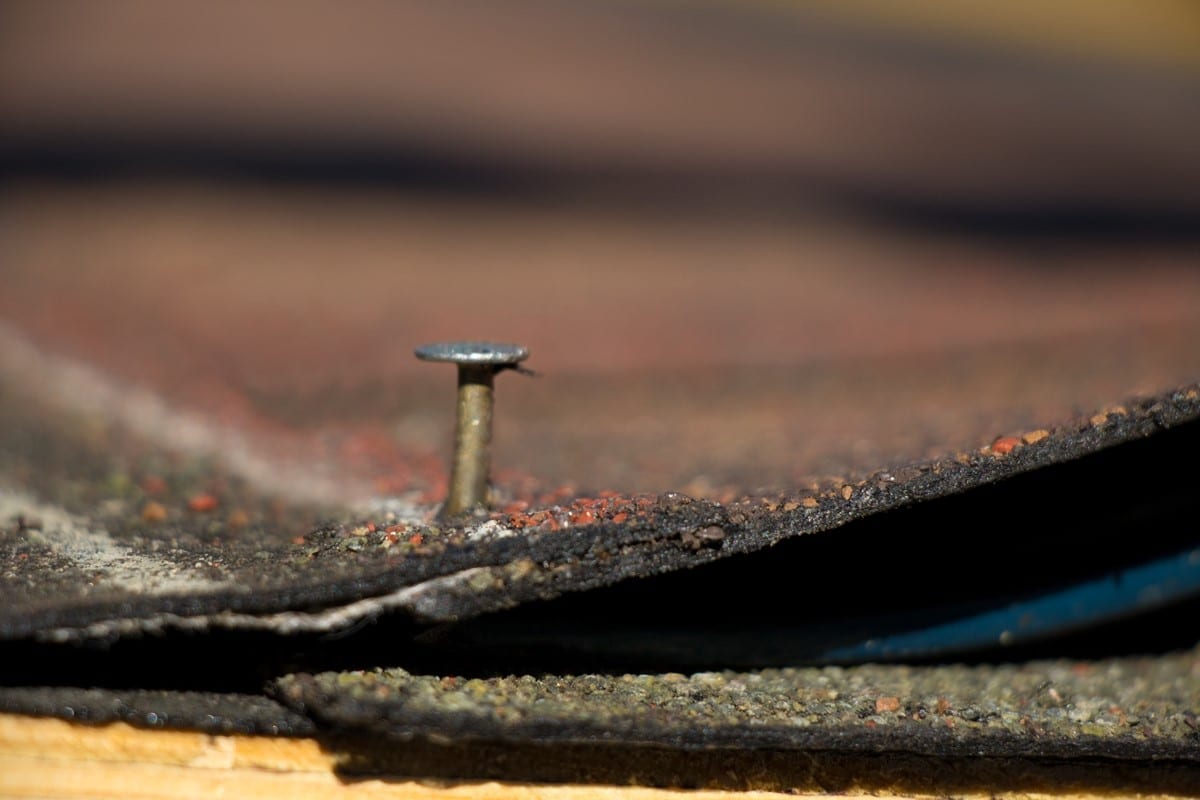
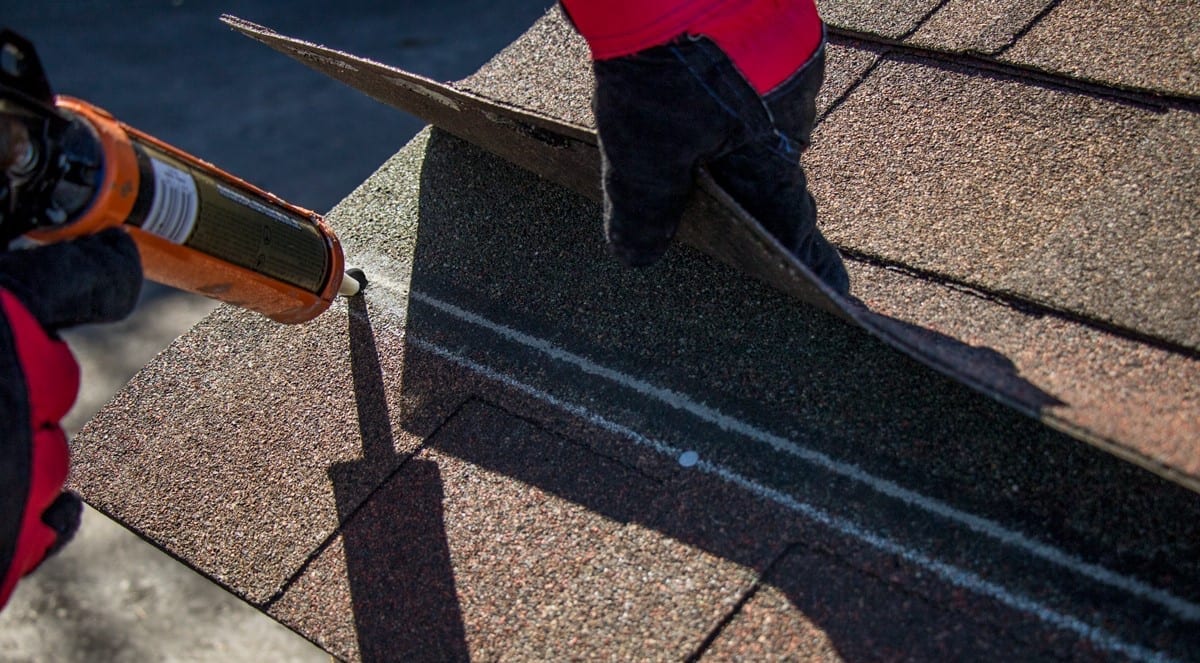
Step Three – Remove the nails.
- Sometimes the nails can be removed by direct access, but often trying to pry out the nails from above the shingle can damage the shingle’s granular surface. It is therefore better to lift the shingle AND the nail at the same time, so you’ll need to access the bottom of the target shingle.
Slide the pry bar up tight to each nail area and pry upwards on the shingle, which will also lift the nail out of the deck. Lift all four nails out of the target shingle. (In the photo below we’ve shown this step at a roof edge for a clearer view.)
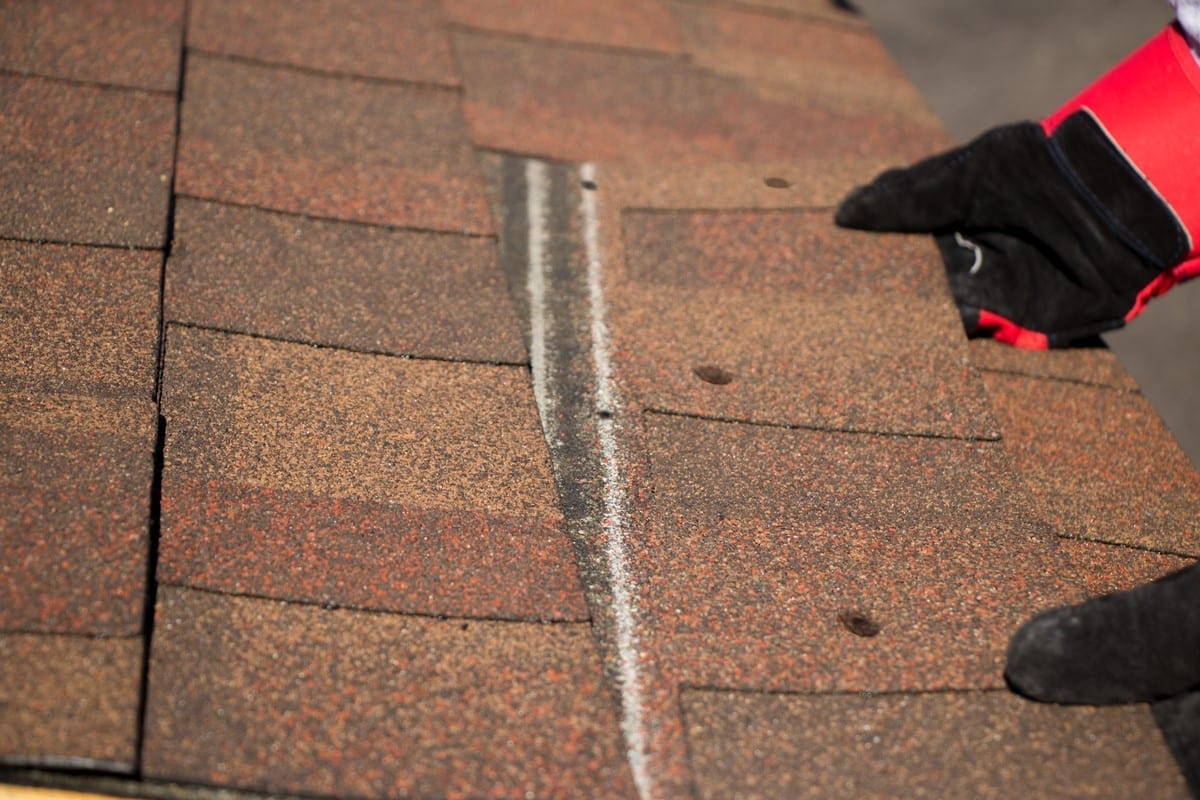
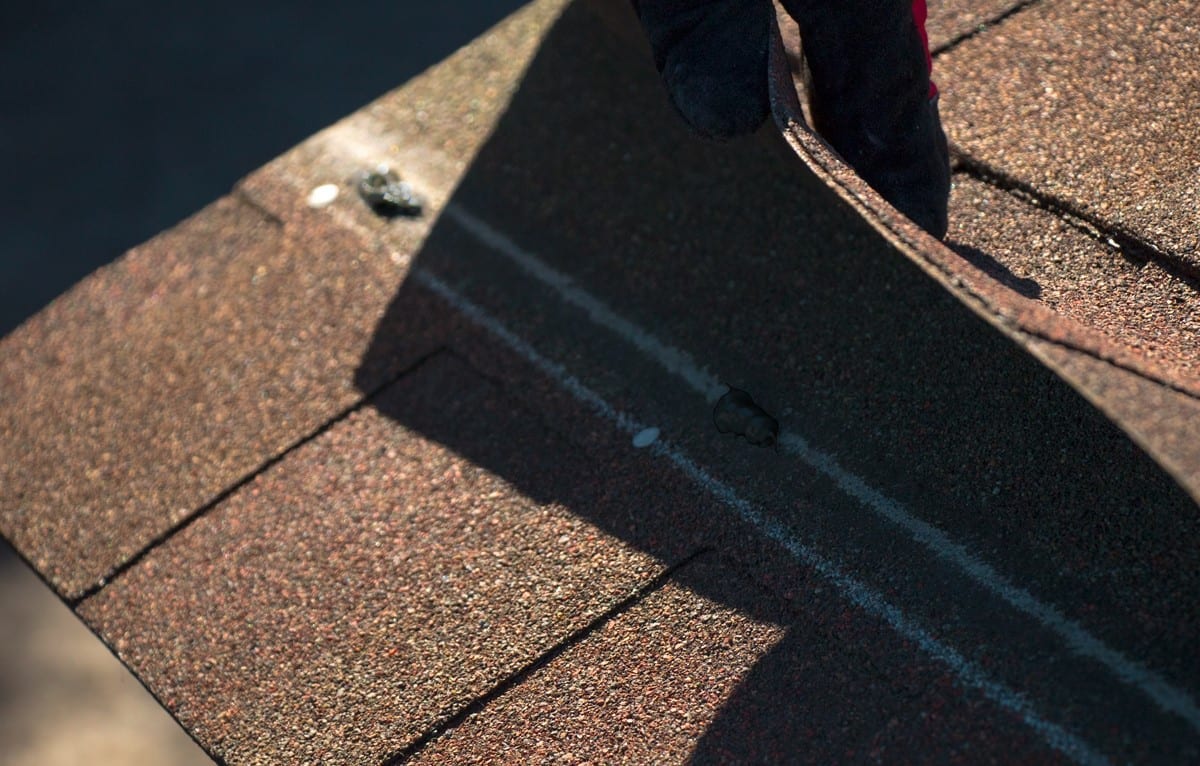
Step Four – Remove the adjacent nails.
- Once all four nails have been pried up and removed from the target shingle, you’ll notice you still won’t be able to remove it. That’s because the nails in the shingles above it will also be penetrating the upper edge of the target shingle. This fact, that each shingle on a roof is actually held in place with TWO rows of nails, is a key factor in the overall roof system’s wind resistance.
- So, you’ll need to perform the same sealant bond-breaking step on the shingles two courses above the target shingle as well, and then remove the nails from the shingles in the course immediately above the target shingle.
NAIL REMOVAL FROM OVERLYING SHINGLE
Step Five – Out with the old shingle.
- Now that all the sealant bonds have been broken and all the nails have been removed, the target shingle should be loose, and can be removed.
Step Six – In with the new shingle.
- Take the new replacement shingle (which must be the same size as the old one), and slide it into position. Nail it into place and then re-nail the overlying shingles wherever other nails have been previously removed.

Step Seven – Reseal the shingles.
- Lastly, remember breaking all those shingle-to-shingle sealant bonds? Well, although the new roof shingle will likely seal to adjacent shingles in time with enough sun warmth, it is recommended to manually seal the new shingle in place now. Merely apply three small spots of asphalt plastic roof cement under the new shingle’s tabs, evenly spaced along the shingle length, and press the shingle flat down into place.
- Seal down any surrounding shingles that may have had their sealant bond separated in the same way. This ensures the roof’s wind resistance will continue as before, uninterrupted.
For more roof maintenance suggestions, visit IKO’s article on residential roof maintenance.