There’s a problem with your roof, but your roofer is too busy to come by and fix the problem right away. What should you do? In this case, you may opt to add a temporary roof tarp to prevent further damage. This is a common situation that homeowners may find themselves in after a major storm or hurricane has blown through town. After extreme weather events, roofers are so busy fixing multiple roofs throughout town that they don’t have time to address even emergency repairs right away.
A roof tarp, when secured properly, can protect your roof from new rain, snow or wind. It can prevent holes or missing shingles from turning into leaks and can keep existing leaks from getting worse. Not only is protecting your roof with a tarp a wise precaution to shield your home, but it may also be necessary under your homeowners insurance policy. If you don’t limit the damage that the storm has caused on your roof and the rest of your home, your insurance company could refuse to cover the additional damage, even if it will cover the costs of the initial damage.
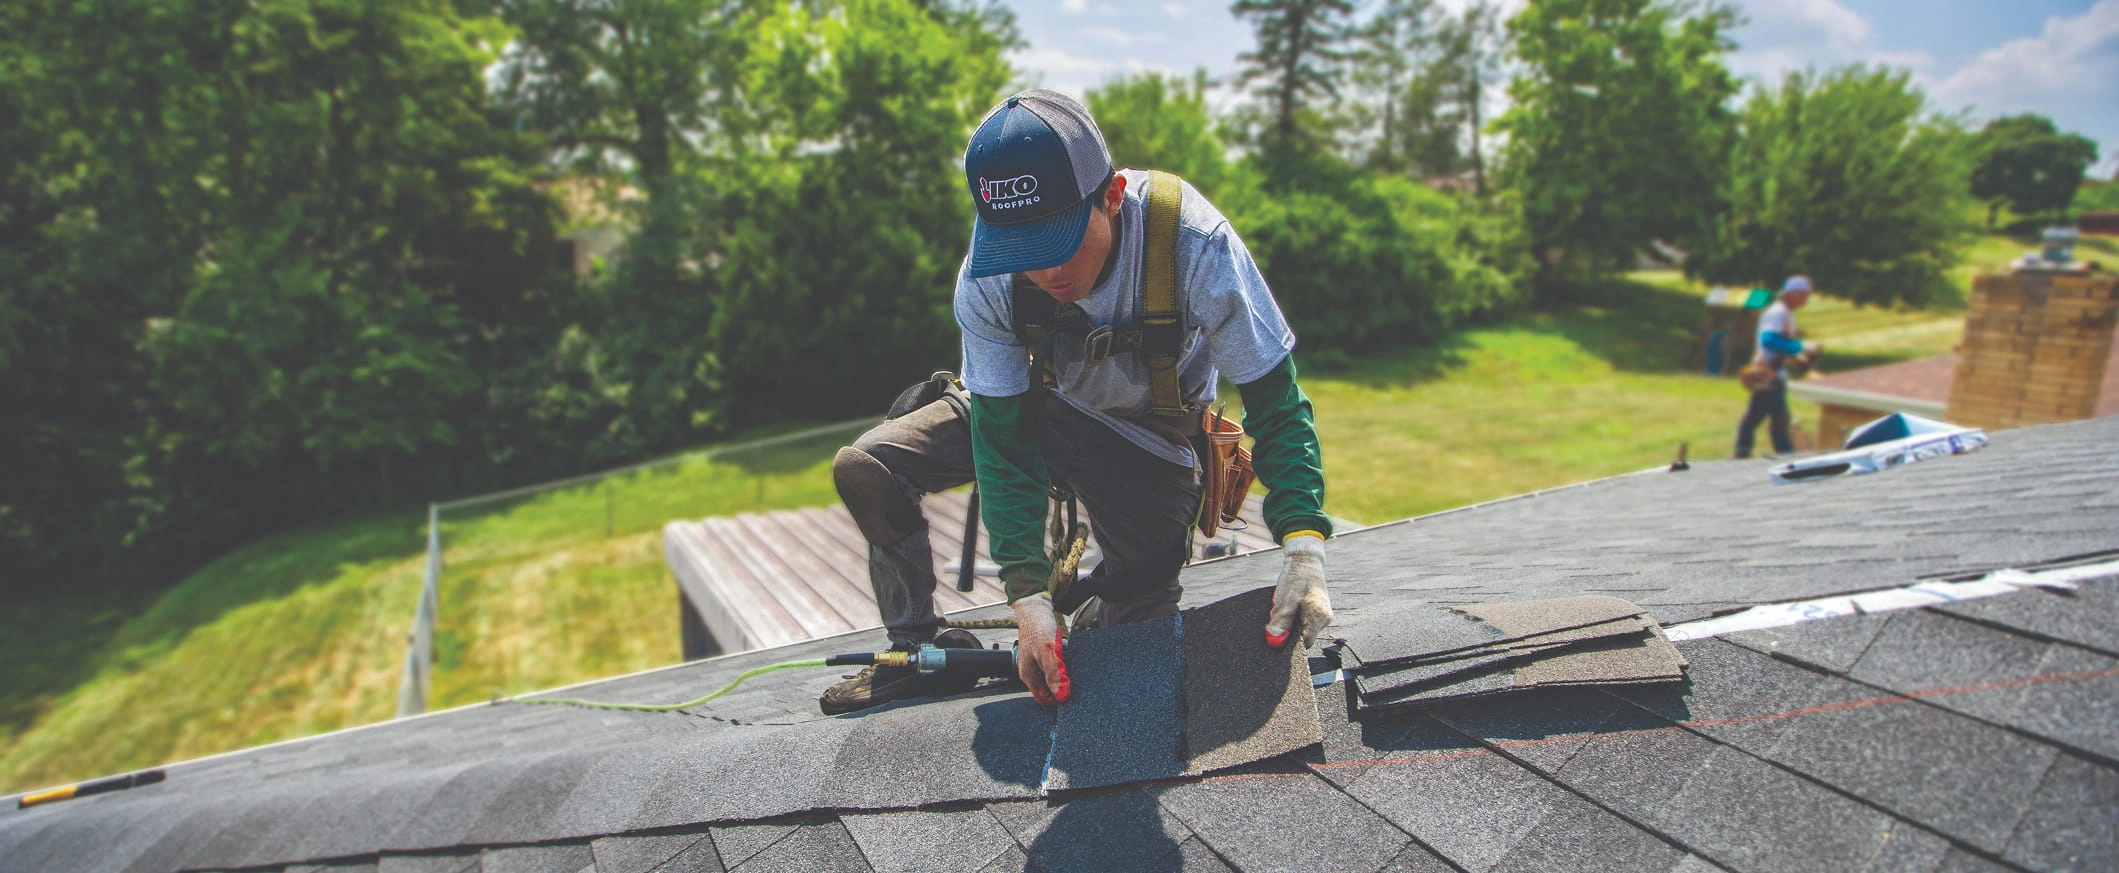
You should hire a professional roofer to put up a roof tarp. Attaching a tarp doesn’t take much time and roofers are also motivated to do this work as it increases the odds that you’ll wait until they can fit you into their schedule instead of choosing another roofer.
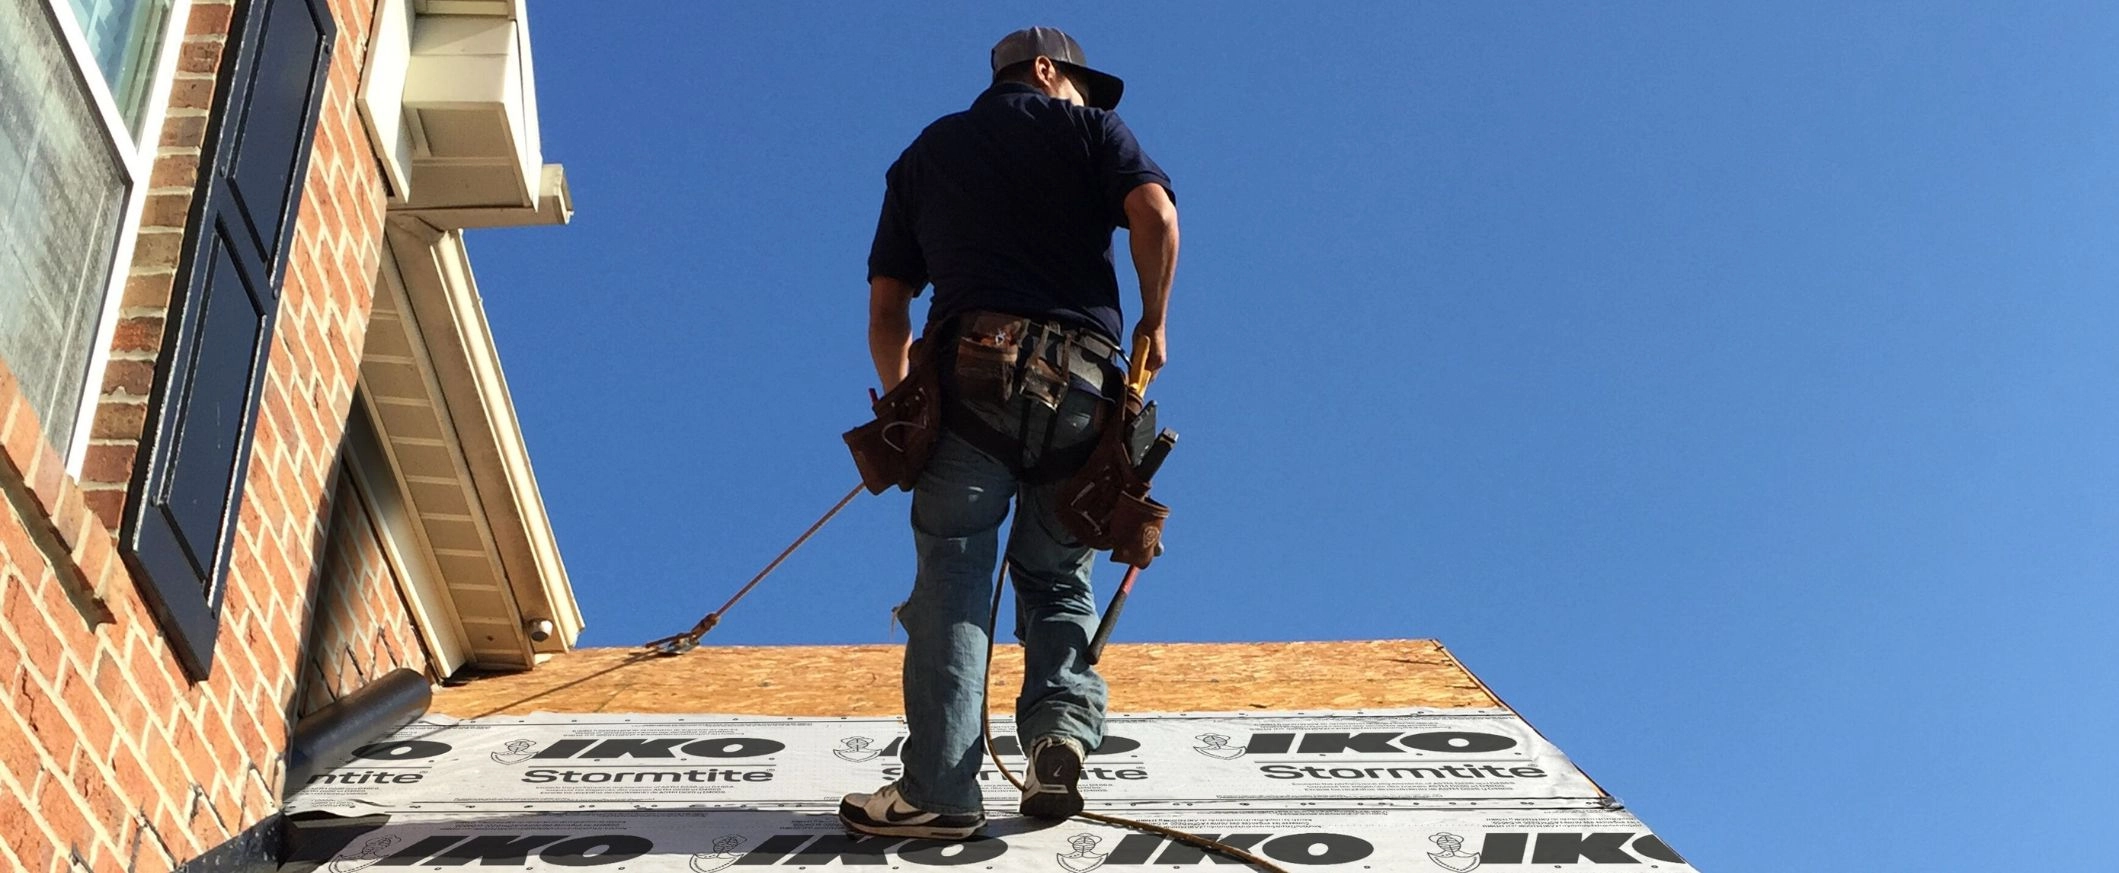
Homeowners should not attempt to place a tarp by themselves. Standing on the roof without proper safety training and equipment is dangerous, especially after a major storm or when you suspect your roof has damage. It’s easier to fall off wet roofs or those with tripping hazards, such as loose shingles. Roofs that are extremely damaged may even collapse under the weight. If you’re the type of person who likes to take action, look into safe things you can do to prepare for your roof replacement in nonemergency situations.
While a professional contractor should attach the tarp, you may want to make sure that your roof is tarped properly, to ensure your peace of mind and to reassure your insurance company. So, we’ll explain how to install a roof tarp and answer some common questions homeowners have about the process.
How to Tarp a Roof
Here are step-by-step instructions on the best way to secure a tarp to a roof:
Tools required:
- Ladder and safety equipment.
- Camera or smartphone.
- Measuring tape.
- Suitably sized tarp.
- Thin wooden boards, 2×4 or thinner.
- Tool to remove debris, such as a roofing shovel.
- Nails or screws.
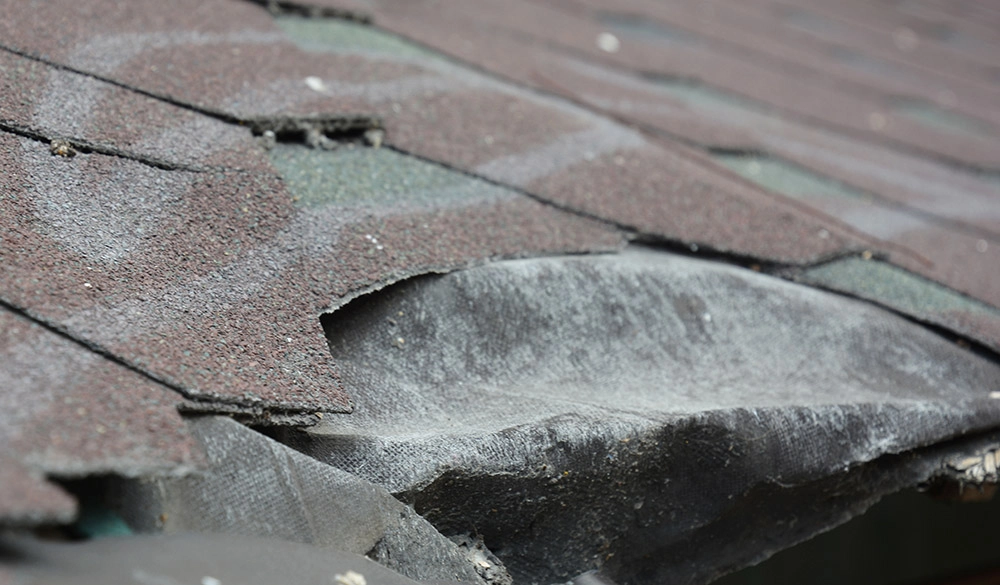
1. Examine the Roof and Measure
To start, roofers must first examine the roof to determine which parts of the roof need a tarp. They may survey the roof from a ladder, wear a safety harness to inspect the damage physically or use a drone. Using a tape measure, they’ll determine what size tarp they will need to cover the damaged area.
2. Take Pictures of the Damage
You should ask your roofers to take pictures of the damaged parts of the roof to show to your insurance company. You should take pictures before the tarp is applied and before any debris is removed from the roof unless removing the debris is necessary to see the full extent of the damage.
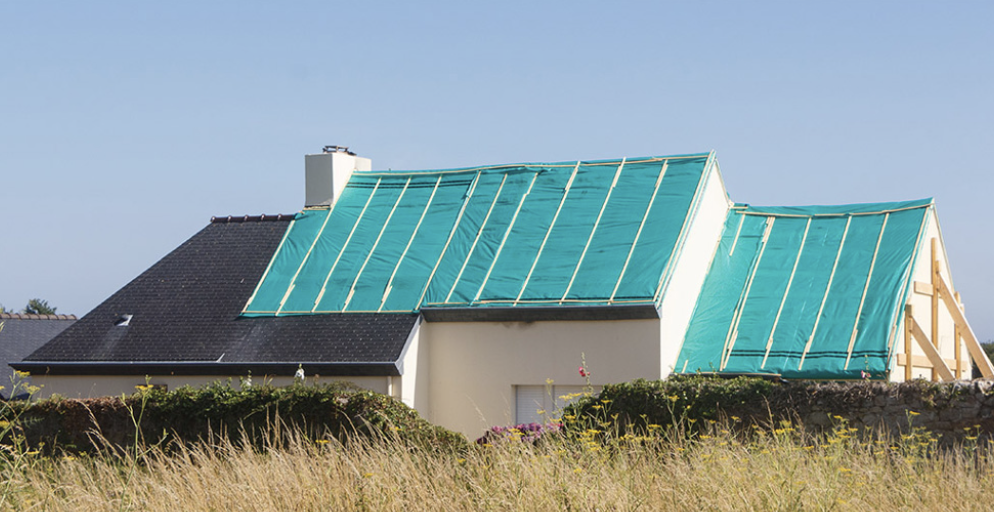
3. Select the Correct Tarp Size
The roofers will select a properly sized tarp to place on your roof. The tarp should be larger than the area the roofers have measured to extend a few feet past any damage to provide proper protection. Ideally, the tarp will also be long enough to hang over the ridge of the roof. When the tarp hangs over both sides of the roof, water will roll off the tarp smoothly, without getting beneath it. If the water rolls down the roof and then reaches the lip where the tarp begins, it is more likely to work its way under the tarp.

The quality of tarp needed may depend on how soon the roofing team expects to be able to repair the roof or whether or not the severe weather is expected to return.
4. Remove Debris
Next, the roofers will remove loose debris from the roof, including shingles and nails. If debris is left behind, it can clog gutters, interfere with the proper flow of water and create the opportunity for more roof issues.
5. Prepare Tarp
Two or more roofers will be needed to unfurl the tarp and place it over the damage. If the roofers are using an adhesive roof tarp, they will then remove the backing on the adhesive to secure the tarp. Adhesive tarps can be a challenge to install, but they are similar to the ice and water protectors that roofers use all the time. However, the shingles beneath an adhesive tarp will need to be replaced, because the adhesive pulls up some granules.
If the roofers are not using an adhesive tarp, they will need to complete a few more steps in order to weigh down the tarp.
6. Secure Tarp With Boards
In order to secure a tarp with nails or screws, the roofers will need to wrap the end of the tarp around a piece of lumber as an anchor. The board helps give weight to the tarp to keep it on the roof and prevent it from flapping around. If a few nails were added to the tarp, this would create points where the tarp could easily rip. When the whole end of a tarp is wrapped around the board, it spreads out the pressure through the whole tarp, making it much less likely to rip off.

Depending on the extent of the damage, the roofing team may need to add several boards to ensure the tarp will stay in place. They’ll also need to position the boards carefully to prevent water dams. For example, the boards should not be perfectly horizontal. One end should be lower on the roof, allowing water to drain off that side.
7. Nail or Screw Boards Down
After they roll the edge of the tarp around a thin wooden board, the roofers will secure the board to the roof with nails or screws. The nails or screws should be driven right into the shingles. All these shingles will need to be replaced when the roofers repair the roof; but this is a small price to pay to prevent more water intrusion.
How to Tarp a Roof Around a Chimney
It is more challenging to tarp a roof if the damage is near roof features, such as chimneys, plumbing vents and skylights. While you can leave a skylight covered by a tarp, it would be a serious safety hazard to leave a plumbing vent or chimney covered. In general, your roofer should cut a hole for these features and then tape the edges of the tarp to it. It is very important to use quality tape to keep these areas watertight. Some tapes may not adhere well to chimney masonry; so, your roofer may need to tape the tarp to the chimney flashing
How to Tarp a Roof Without Nails
Most roofers will use screws when attaching the tarp’s anchor boards to the roof. However, if you want to avoid making additional punctures in the roof, you can use an adhesive roof tarp. These have a glue-like material built in to stick to the shingles. However, these tarps may be less secure than tarps secured with wooden boards and nails; so, you should check on them regularly to make sure they are still in place. Using an adhesive roof tarp may require additional effort to remove the adhesive residue or replace the shingles that the tarp was adhered to.
How Long Can You Leave a Tarp on Your Roof?
Ideally, you would leave the tarp on your roof for as little time as possible. That said, as long as the tarp is in good condition, without tears or rips and as long as the water isn’t getting beneath it, it can be left in place. When your tarp will wear out depends on the quality of the tarp and the conditions it is exposed to.
If you’re concerned that your tarp isn’t effectively protecting your roof anymore, you should reach out to the roofers who put it in place. They should be able to tell you if anything has changed since their initial installation.
Get Help with Your Damaged Roof
It is important to get a tarp on your roof as soon as the bad weather has cleared so that it is in place if another storm rolls in. It is also important to get repairs done as soon as possible and not leave the tarp on for an extended period. If you’re looking for a roofer to help with emergency roof repairs or to just place a tarp, look for a local contractor through IKO’s Contractor Locator.