Disclaimer: This basic guide to roof brackets is not meant to act as a substitute for professional advice, installation or training. Roofers should refer to their local health and safety authority before they choose to use roof brackets.
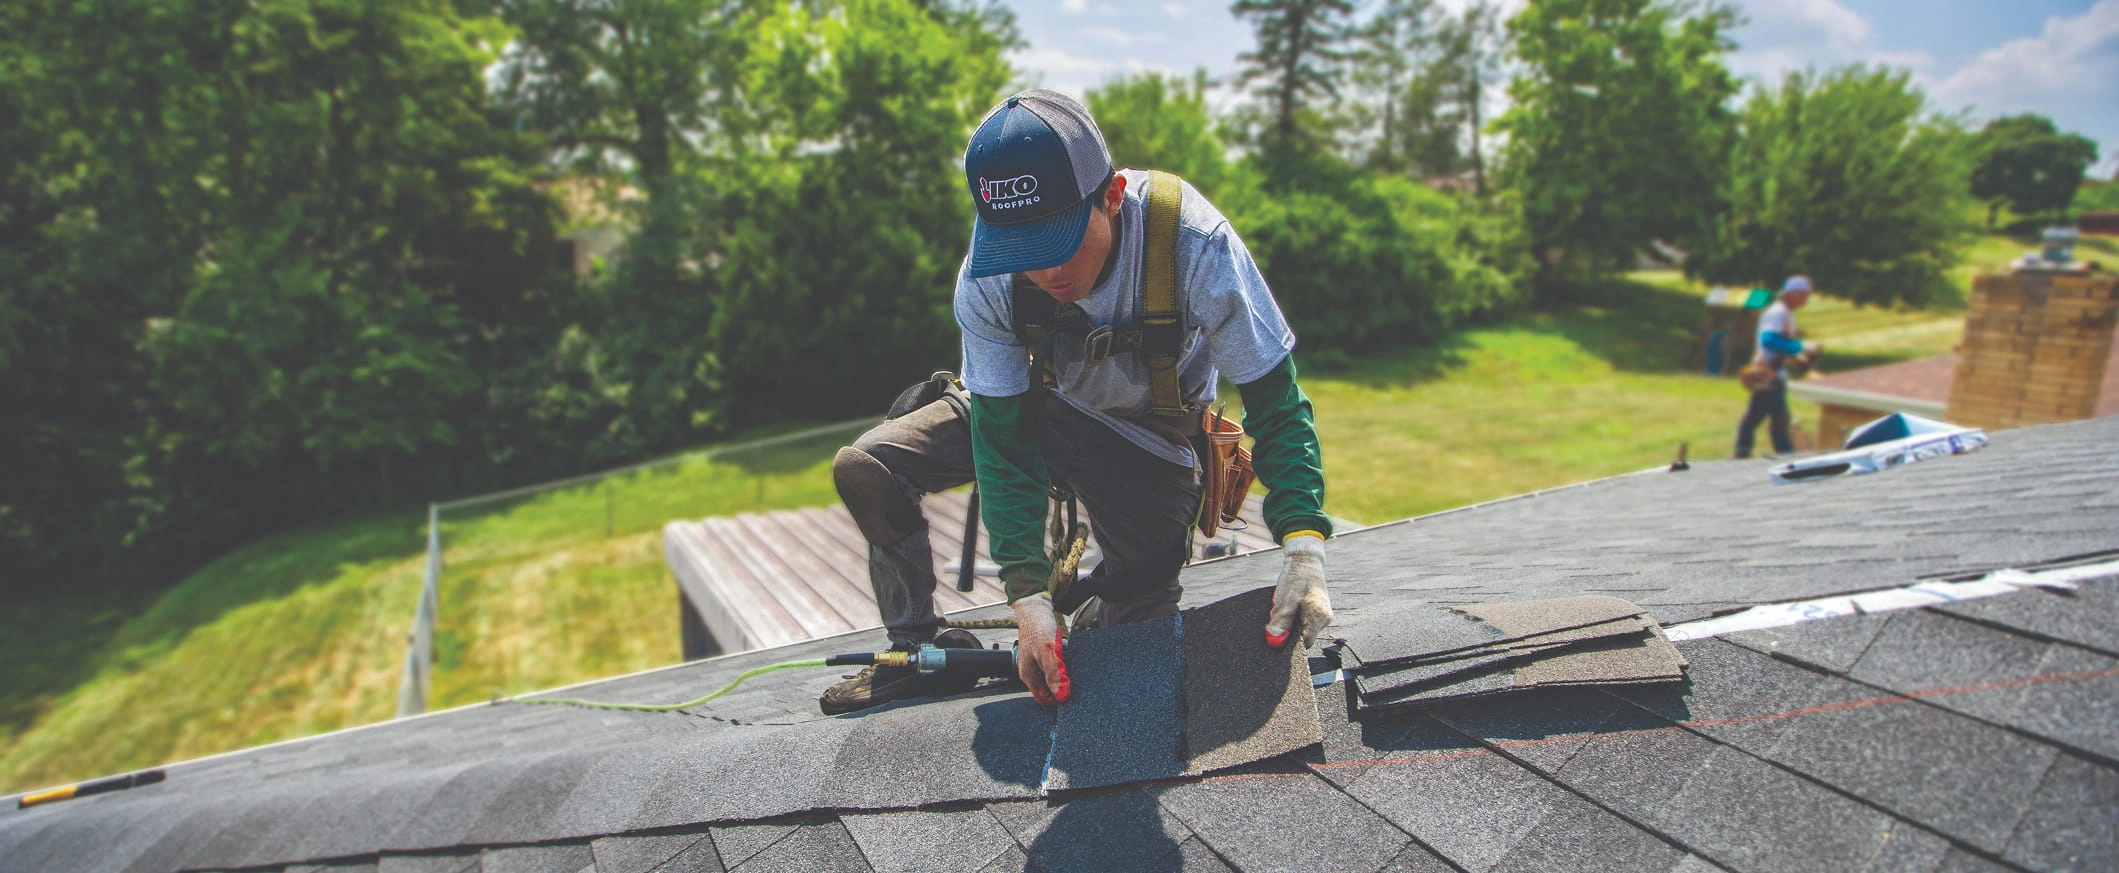
Keeping safe on the rooftop is always a roofing professional’s top concern. Roof brackets are useful tools that many roofers choose to use. They are metal brackets that secure a plank of wood to the roof, which roofers stand on as they work.
Many roofers find brackets are useful for efficiency and stability. However, they cannot be used in lieu of any other safety equipment required by your safety authority. Roofing brackets are not certified by the American National Standards Institute (ANSI) or the CSA Group. Roof brackets should only be installed as per the manufacturer’s guidelines.
It is crucial to install your roof brackets properly to keep yourself and your roofing crew safe on the job. Here is what you need to know about roof jacks, including how to install them and remove them.
What Are Roof Jacks?
Roof jacks or roof brackets are pieces of safety equipment that secure a wooden plank to the roof plane. Roofers can then stand and walk on this plank while working.
Roof jacks are used in conjunction with scaffolding, but they cannot act as scaffolding or guardrails, or other safety equipment, per Occupational Safety and Health Administration (OSHA) standards. A plank suspended by roof brackets would not qualify as scaffolding or guardrails. Scaffolding must be enclosed on all open sides and ends of the platform, and must include top rails that are 36, 38 or 45 inches above the platform surface (in this case, the roof surface). That means that roof brackets are not replacements for other fall safety equipment, such as personal fall arrest systems.
Sometimes roof plumbing vents are called roof jacks, but that’s not what we mean by the term.
The Types of Roof Brackets
There are various types of roof brackets with different features. The two major types are adjustable and fixed roof brackets:
- Fixed Roof Brackets: Roof brackets need to hold the wooden board at a certain angle to create a safe platform for roofers to work on. The exact angle depends on the pitch of the roof. Fixed brackets hold the plank on one angle, so you need to purchase the exact right bracket for the roof you want to use it on. Manufacturers may design roof brackets for one roof pitch or a narrow range of roof pitches.
- Adjustable Roof Brackets: Adjustable roof brackets can be adjusted for a range of different roof pitches. Roofers may find it is more convenient to use these brackets as they can be used on more roofs.
Most roof brackets will hold the board out flat so that the wider side is available for the roofer to stand on. However, some hold the board on its side so that you can stand on the edge (smaller side). Brackets that hold the plank on its side provide less footing, but they can also typically hold more weight than the other brackets.
Roof Bracket Attributes
There are a few attributes of roof brackets that you should be aware of:
- Bracket Angle: Each bracket should list the angle or range of angles that it can hold the wooden board at. You should match this figure to the pitch of the roof that you intend to use the bracket on.
- Plank Width: Brackets will only be able to accommodate wooden boards of specific sizes. They should list minimum and maximum plank widths.
- Maximum Weight: Brackets will list how much they can hold. This weight will be relative to the length of the board. For example, a bracket may be able to hold 200 pounds if the board is reinforced by a bracket at every 8 feet.
When you choose a roofing bracket, you should pay special attention to the pitch the bracket can be used on, the weight that it can hold and the size of wooden board that it supports. You will have to read the manufacturer’s instructions to know what the specific product offers.
A roofing bracket may list a single pitch that it can be used with, or it may give a wide range. For example, some brackets that hold the board at 45 degrees list that they can be used for roofs up to a 12:12 pitch. The same brand may offer brackets that hold the plank at a 60-degree angle. These work for roofs up to a 16:12 pitch. Always check with and abide by the manufacturer’s guidelines for their specific product.
It may be challenging to compare the weight listed on different roof brackets directly. The manufacturer may measure weight in pounds, or it may be a bit more complicated. For example, a manufacturer may list a bracket’s weight limits as: “1 worker per 8 ft. of staging plus 40 lb.”
Lastly, consider the size of the wooden board that your bracket can hold. Most can hold a 2-by-6, as they offer more room for your feet than a 2-by-4. However, you will find some that fit 2-by-4s, 2-by-10s or those that hold the planks on their side, as mentioned above.
What Fasteners Do You Use With a Roof Bracket?
Most manufacturers call for their roof bracket to be installed using nails. You should never install a roof bracket contrary to the manufacturer’s recommendations.
That still leaves the question of what kind of nails you should choose. Again, your manufacturer should tell you. Some manufacturers recommend 20-penny nails, which are large nails with large heads that provide more support than the smaller roofing nails you would use for other roofing work.
How To Install an Adjustable Roof Jack
Here’s how professional roofers can install adjustable roof jacks.
Tools and materials include:
- Fasteners.
- Roof brackets.
- Wooden boards of the right size.
- Nail gun or hammer.
How To Install a Roof Bracket
- Check Manufacturer’s Instructions: Your first step should always be to check with the installation guidelines of your specific bracket manufacturer. Follow those guidelines if they differ from our steps below.
- Adjust Bracket: Ensure that each of your adjustable brackets is set to the right degree for the pitch of the roof that you will be working on. Most brackets can be changed by moving the support arm up and out of the teardrop-shaped holes in the bottom. When you adjust them, make sure that the support arm is in the very bottom of the teardrop.
- Find Rafters: You should secure brackets directly to rafters to provide proper support. Depending on the age and location of the roof you’re working on, the rafters may be 12, 16, 24 or even 36 inches apart. Check the maximum length allowed between the brackets by the manufacturer. Plan to install your brackets no further apart than that and closer together if extra support is desired. Always nail them to a rafter.
- Place Bracket: Place your brackets on the roof. If you add brackets to a roof that still has shingles installed, you need to lift a shingle and put the top of the bracket beneath it. Note that, depending on the job, some roofers place multiple rows of brackets so that they have support at different levels of the roof. You may want to place your top row of brackets high enough that you can easily reach to install the ridge shingles when you stand on it.
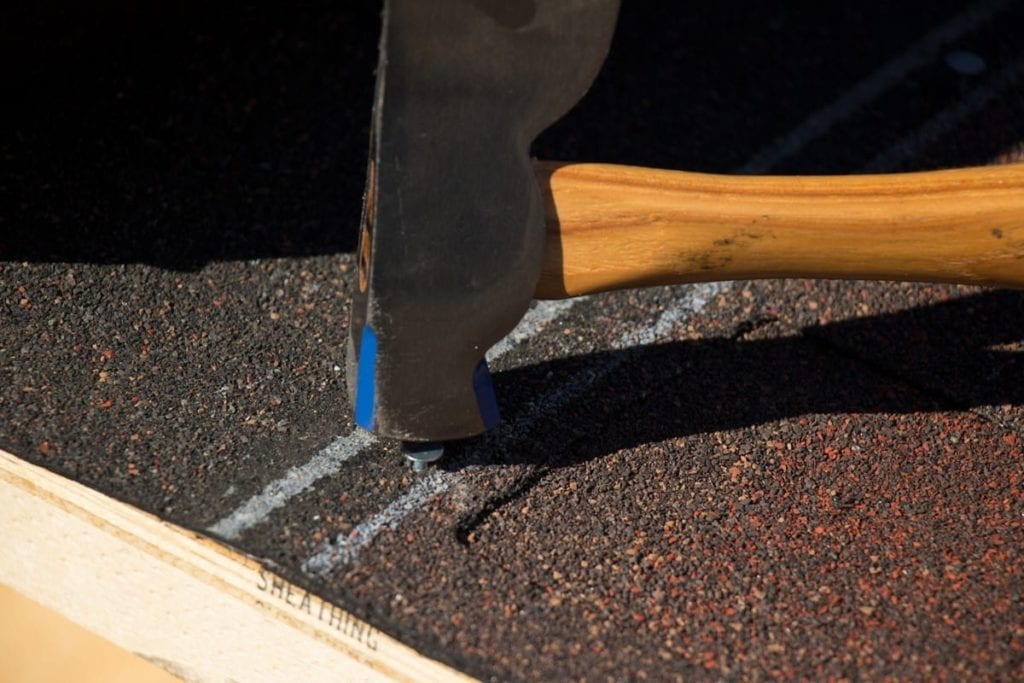
- Add Fasteners: It’s time to add the nails. OSHA requires that your bracket have at least three nail slots. Drive nails into these holes first, at the top or narrowest part of the teardrop. If you nail at the widest part of the nail hole, it will be challenging to remove the bracket later. You should also drive nails into the notches (or nail slots) on the side of the bracket. These nails prevent the bracket from moving sideways.
- Place Shims: This optional step can help you protect shingles from the bracket if you’re doing repair work. It is an especially good idea if your client has designer shingles with a distinct look that would be more expensive to replace. Take a thin cedar shim or a scrap shingle that is slightly wider than the base of the bracket. Lift the bracket and place the shim beneath the bracket.
- Add Boards: Now, you can slide your board into place on the roof jack. On either end, the wooden board should not hang too far beyond the final bracket. As this overhang would not be supported, it would be unsafe to step on it.
- Secure Boards: You need to screw or nail the boards onto the roof jack. Refer to your manufacturer’s instructions to ensure you know how to secure the boards properly. Typically, there is a small hole in the bracket through which you can drive a nail or screw.
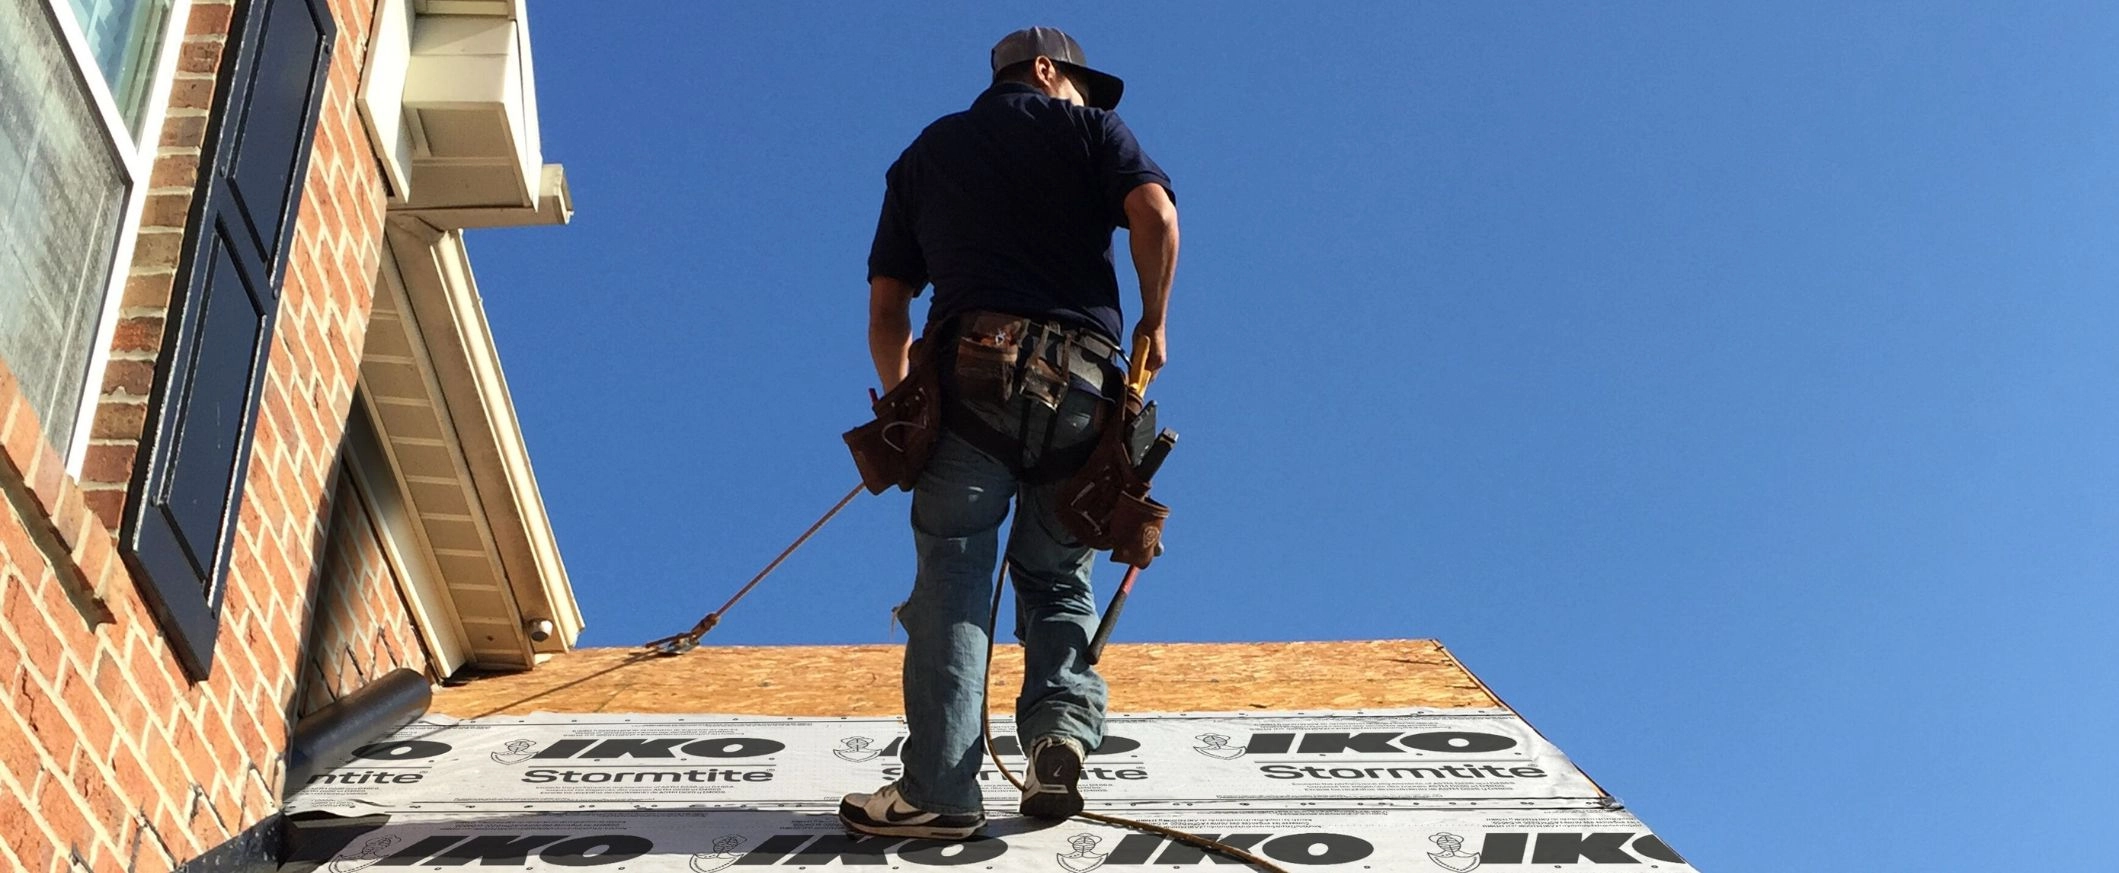
- Complete Roofing Work: Now that the roof bracket and plank are secure, you can work on the roof. Keep in mind that you will still need other safety equipment, such as your roof safety harness.
How To Remove an Adjustable Roof Bracket
Once you’re done working on the roof, you’ll need to remove the roof jacks and plank. Here’s how:
- Remove Board: Unscrew the board from the roof bracket or remove the nails. Place the board safely on the ground. It is not recommended to leave the board in and simply remove the brackets and board as one.
- Slide Out Shims: Lift the roof jack and take the shims out.
- Loosen Nails: Do not completely remove the nails, but gently pry each up slightly. Now, you should be able to maneuver the roof bracket so that it can be lifted free of the nails.
- Drive Nails: Once you have removed the roof jack, you need to drive the nails back into place. Drive them as if they were securing shingles so that the bottom of their head is flush with the roof, and they won’t prop up the shingle above them. If you removed the nails, then they would leave behind a hole that could allow leaks.
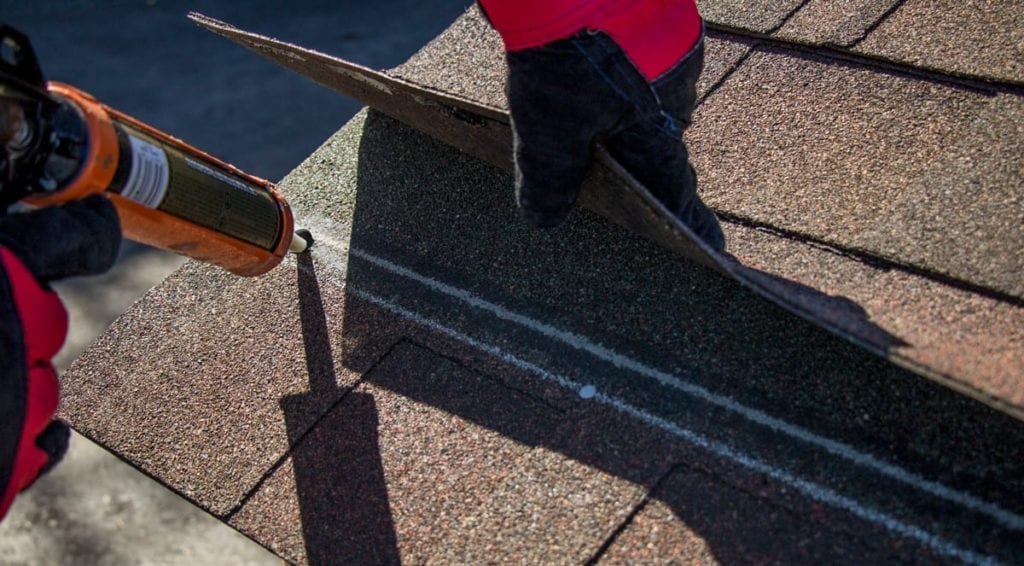
- Add Roofing Cement: Add a thin layer of roofing cement above each nail to help further prevent leaks.
Using Roof Brackets Safely
While roofing brackets are not considered safety equipment, and cannot fulfill your safety requirements under OSHA, it is still important to understand what they are. Always follow the roof bracket manufacturer’s instructions if you use roof brackets. IKO’s site contains many resources to help you learn more about various roofing tools and safety practices. Discover them today.