Blueprint for Roofing videos:
Play the program modules through completely.
Play them a second time and compare the information with the roof installation instructions printed on the bundle wrappers and information available through our website.
Table of Contents:
- Roof Anatomy – Components of a House’s Roof
- How to Measure the Roofing Materials Needed
- Shingle Accessories – Residential Roofing Systems
- Shingle Roofing Tools Needed for Installation
- Roof Shingle Jobsite Safety Tips
- How to Tear Off Roof Shingles & Prepare the Deck for Shingle Installation
- How to install Drip Edges, Eave Protection & Underlayment
- How to Shingle a Roof Valley
- How to Install Starter Shingles
- How to Install Starter Shingles with IKO EdgeSeal
- IKO Performance Shingles Installation Instructions
- IKO Cambridge Shingles Installation Instructions
- IKO Armourshake Installation Instructions
- IKO Royal Estate Installation Instructions
- IKO Crowne Slate Installation Instructions
- Low Slope – Roof-Fast Application – Part 10
- Roof Vent Installation
- How to Install Roof Flashing
- How to Install Hip & Ridge Shingles
- Inspection and Clean Up
- Roof Care and Maintenance – Part 15
- IKO Shingle Portfolio
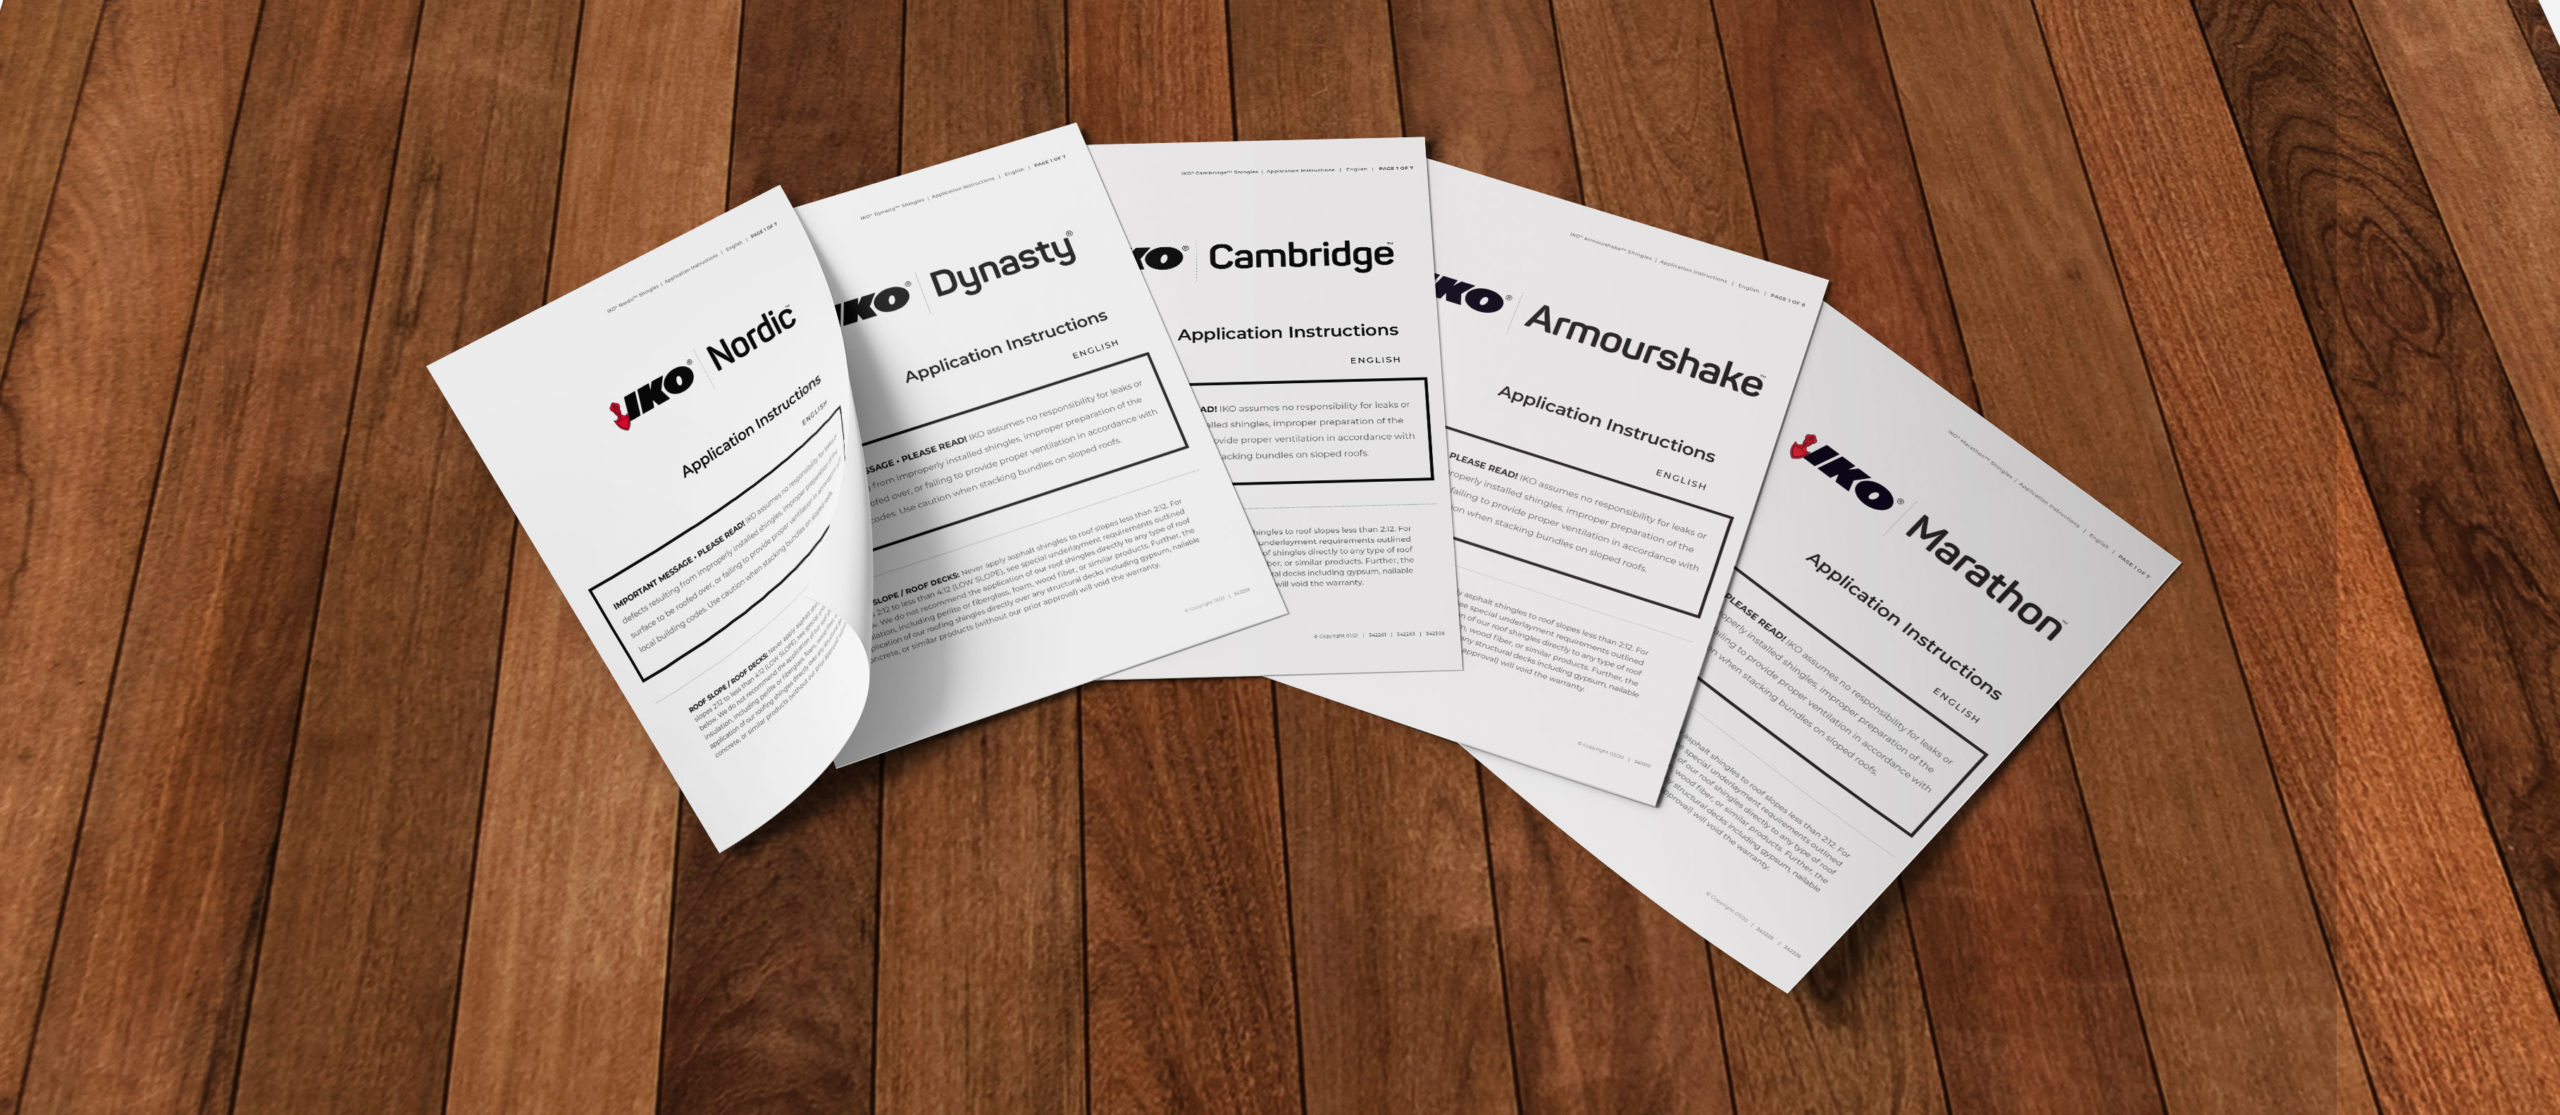
Application Instructions
View and Print our Application Instructions per product
Part 1 – Roof Anatomy – Components of a House’s Roof
The first step to installing a new roof is being familiar with the roof anatomy. In this video, we introduce you to the various parts that make up a pitched roof. These include the ridge, the hip, the eaves, the rake, the valleys, and the fascia. It’s important to familiarize yourself with the basic roof anatomy as it’ll help you better understand the entire roofing installation process.
Part 2 – How to Measure the Roofing Materials Needed
In this video, we explain how to estimate the amount of shingles and accessory materials you need for your roofing project and how to calculate roof square footage.
You can measure the roof by adding up the areas of the individual roof sections that make up the entire roof. This can either be done manually on the roof or using measurements taken from blueprints or satellite or aerial photo services. Another popular method is to measure the home’s attic floor area and add in the dimensions of the roof overhang at rakes and eaves.
In terms of how to calculate shingles for a roof, IKO recommends adding 10 to 15 percent of this area for material waste or loss depending on the style of roof you’re working on.
You can also use this square area measurement to figure out the number of rolls of underlayment you’ll need.
IKO recommends our PROFORMAX Roofing accessories system. IKO has developed a superior multi-layered roofing system incorporating our industry-leading products. Shingles alone are sometimes not enough to protect your home.
Part 3 – Shingle Accessories – Residential Roofing Systems
Shingles are the first line of defense against elements but they’re not always enough for your customers’ total peace of mind. We recommend a totally integrated roofing solution: quality IKO shingles, plus IKO’s PROFORMAX integrated roofing accessories. They’re engineered and manufactured to work together.
In this part of the IKO Blueprint for roofing, we discuss IKO’s various PROFORMAX single roof accessories and how the crucial role they play as part of a complete residential roofing system.
We cover a variety of shingle roof accessories, including roof starters, starter strip tape, roof deck protection such as ice and water protectors, roof deck sealing tape, synthetic underlayment, and capping shingles.
Part 4 – Shingle Roofing Tools Needed for Installation
Multiple shingle roofing tools and pieces of equipment are used when working with asphalt shingles. Proper and safe tools are the key to any successful job.
In this video, we list some of the important shingle roofing tools and equipment required in the shingle installation process.
Some of the shingle roofing tools discussed include ladders, nail guns, roofing knives, roofer’s hatchets, nails and nail aprons, caulking guns and tin snips.
Your reputation as a roofer will depend on the quality of work you and your team produce. Be sure you have the proper tools for each member of your team so you can have the job done right.
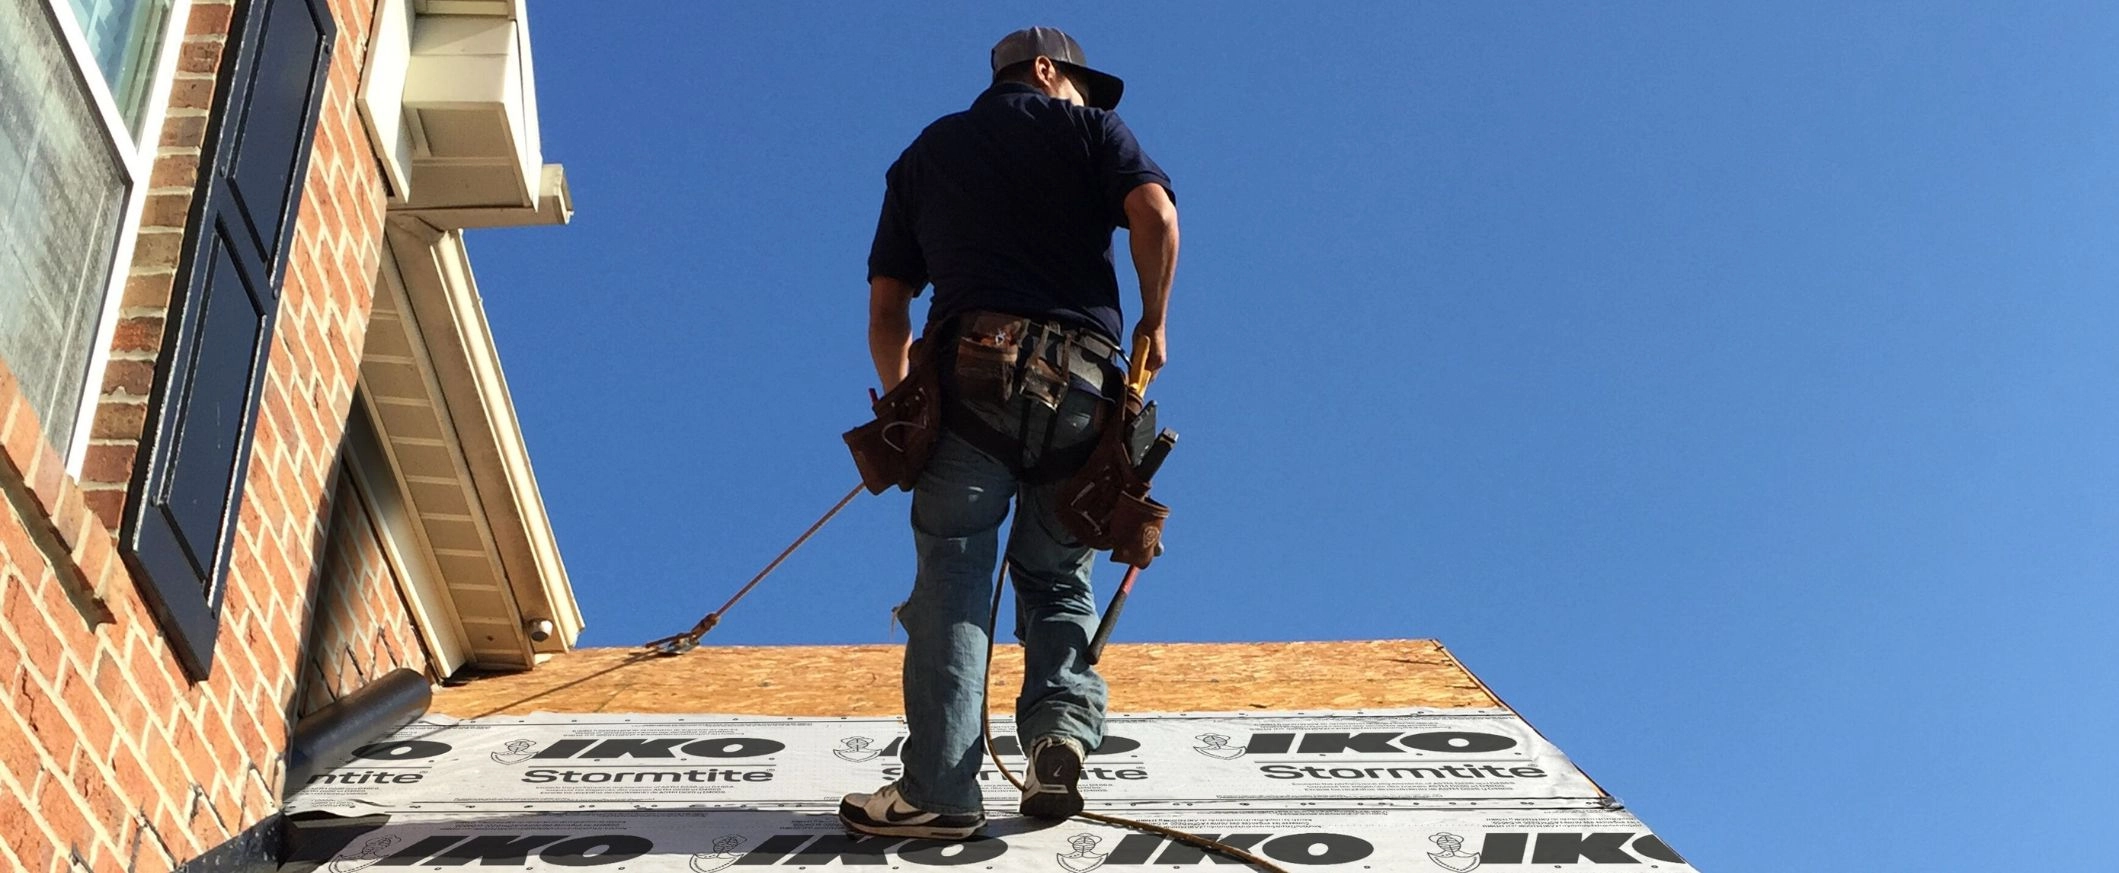
Part 5 – Roof Shingle Jobsite Safety Tips
In this video, we discuss the importance of roof safety on job sites.
Roofers face a variety of hazards on the job, including those associated with working at heights, ladders, power tools, electricity, noise, hazardous substances, and even extreme temperatures.
We discuss different types of roof safety, including ladder safety such as securing the base and top of the ladder, placing your ladder at an angle, tripping hazards and more.
We also cover Personal Fall Arrest (PFA) systems and how roof fall prevention equipment saves lives.
Be sure to partake in roof safety training and follow safety guidelines outlined by Government Safety and Fall Protection standards at all times.
Part 6 – How to Tear Off Roof Shingles & Prepare the Deck for Shingle Installation
This video describes how to remove roof shingles as well as when and how to replace roof decking and prepare the deck for shingle installation.
Before you start tearing off the old roof shingles, be sure to you have the materials and labor for the new roof all delivered, arranged and ready to install – you don’t want the roof deck to be left exposed after the tear-off.
Prior to installing any roofing materials, make sure that the roof deck is smooth, properly fastened to the roof trusses and free of any gaps or holes. Be sure to remove all the old nails or hammer them down flush to the deck surface. Having a clean and dry, flat deck surface will help ensure that the newly shingled roof will likewise appear smooth and flat when finished. Replace rotted, damaged, or warped sheathing or delaminated plywood. The deck should be applied in a staggered pattern bridged across roof rafters or roof trusses.
Part 7 – How to install Drip Edges, Eave Protection & Underlayment
This video covers how to install drip edge on eaves and rakes and the ice and water shield installation process.
Drip edge flashing serves a vital function in a roof system as it directs water away from the fascia and into the gutters.
Traditionally the drip edge is installed beneath the ice and water protector at the eave, to provide overlapped water shedding protection. Recent studies have shown that the shingle roof system is more wind resistant when a metal drip edge is installed over ice and water protector at the eave. If you choose to do this new method we recommend that you extend and wrap the ice and water protector around the lower edge of the roof deck before you install the drip edge.
We’ll also discuss how you can use IKO GoldSeam roof tape to seal the lower edge of the roof deck.
Ice and water protector membranes are a time-tested and effective solution to help with ice dams formed by the continuous melting and freezing of snow. The video provides recommendations on where and how ice and water protector should be applied as well as which roof slopes require a full layer of water and ice shield or a double layer of roofing felt.
We also discuss why underlayment is important in the protection of a residential shingle roof and how synthetic roof underlayment should be installed.
Part 8 – How to Shingle a Roof Valley
In this video we provide details on how to shingle a roof valley. This low-lying area where the roof planes intersect is highly vulnerable to water penetration. Proper valley installation is a critical component of any roof to ensure the long-term protection of this vulnerable area.
There are several different shingle valley application methods which include:
closed-cut valleys, the California valley (also called Long Island valley or New Jersey valley), open valleys and woven valleys. For optimal roof performance, IKO strongly recommends open metal valleys.
Part 9 – How to Install Starter Shingles
In this video, we cover how to install starter shingles. Being that the perimeter is one of the most vulnerable areas for overall roof performance and wind resistance, roof starters are a vital component of the entire multi-layered roof system. Installed below the first row of shingles, and along roof rake edges, roof starters literally get your roof started in the right direction.
No matter which IKO shingle has been chosen, the starter course must begin at the eave edge of the roof. We recommend IKO Leading Edge Plus starter strip. IKO Leading Edge Plus is factory pre-cut to size and perforated lengthwise so you can easily separate it into two shingles. Just fold the strip flat at the perforation to get two separate strips or shingles. IKO’s own high strength thermally activated sealant is on every strip, helping ensure wind resistance at that critical first course of shingles.
Part 10 – How to Install Starter Shingles with IKO EdgeSeal
In this video, we demonstrate the proper installation of starter course shingles using IKO EdgeSeal starter roll tape. No matter which IKO shingle has been chosen, the starter course must begin at the eave edge of the roof. For premium performance, we recommend our premium starter roll: IKO EdgeSeal. EdgeSeal roof starter tape helps prevent wind uplift and blow-off by creating a super strong bond around the roof’s perimeter – along the eaves & rakes which tend to be vulnerable areas on the roof. The adhesive on the EdgeSeal double-sided roof tape adheres to the first course of shingles and the roof deck, which helps keep the shingles from lifting in high winds.
Part 11 – IKO Performance Shingles Installation Instructions
In this video, we discuss the installation of IKO Performance Shingles: Dynasty and Nordic.
While all types, styles, and sizes of shingles are installed in roughly the same way, there’s enough variation that you must follow the application instructions specific to the shingle you’re using. IKO’s Performance Shingles are engineered to offer superior protection against increasingly severe weather events.
IKO Performance Shingles feature ArmourZone – a woven reinforced band on the back of the shingle that provides awesome nail-holding power. The one-and-a-quarter-inch wide nailing surface on the face of the shingle will help you place your nails accurately anywhere within the zone.
Together with IKO’s FastLock™ sealant, the ArmourZone helps the shingles resist uplifting and blow off, even in very high winds. They both offer IKO’s true square advantage meaning that three bundles will give you exactly one full square of coverage. To benefit from this be sure you provide the full 5- and 7/8-inch tab exposure for each course of shingles.
Part 12 – IKO Cambridge Shingles Installation Instructions
In this video, we discuss how to install Cambridge Shingles.
IKO’s Architectural Shingles feature IKO Cambridge shingles and Cambridge Cool Colors. Cambridge laminated shingles are extremely popular with homeowners who want a boost of curb appeal or who want to potentially increase the selling price of their home by re-roofing at a moderate cost. Both of these architectural shingles are installed the same way.
IKO Cambridge shingles offer IKO’s true square advantage meaning that three bundles will give you exactly one full square of coverage. In order to benefit from this, be sure to provide the full 5- and 7/8-inch tab exposure for each course of shingles. Here’s how to install them once you’ve applied an IKO roof starter as shown in previous episodes of blueprint for roofing.
Part 13 – IKO Armourshake Installation Instructions
In this video, we discuss the installation of IKO Armourshake shingles. IKO Armourshake shingles are designed to mimic genuine wood shakes. These unique shingles are specifically designed to complete the color blend between the teeth of the overlying shingles to create that depth and texture.
We’ll cover how to install Armourshake shingles once you’ve applied IKO roof starter. To achieve the dimensional thickness Armourshake shingles deliver, you need to install an extra starter course at the roof eave using IKO Armour Starter. Remove approximately 20 inches from an IKO Armour Starter shingle.
Start at the lower left corner of the roof deck, granule-side up and make sure the Armour Starter shingle lies flush with the edges of the fastened roof starter strip. Work your way along the eave edge using full-length pieces. Remember always drive nails straight so that the nail head is flush with, but not cutting into the shingle surface. If nail heads are left sticking up they can tear into the shingle that’s applied above them.
Part 14 – IKO Royal Estate Installation Instructions
In this video, we discuss shingle installation with IKO Royal Estate. A new roof of Royal Estate shingles will give your customers’ home an elegant, sophisticated appearance thanks to their look of square-cut natural slate tiles.
We’ll cover how to install Royal Estate shingles once you’ve applied IKO roof starter. Start the first course on the left side of the roof deck. With the complete shingle applied flush with your starter course at the raking eave. Use four nails per shingle placed in the nail line, 7 and 1/8 inches below the top edge of the shingle – approximately 1 inch and 13 inches in from each end. Remember always drive nails straight so that the nail head is flush with but not cutting into the shingle surface. If nail heads are left sticking up, they can tear into the shingle that’s applied above them.
Part 15 – IKO Crowne Slate Installation Instructions
Homeowners love the upscale and natural slate look of IKO’s asphalt maintenance-free Crowne Slate shingles. Like IKO’s other shingles, IKO Crowne Slate shingles have their own unique application instructions to ensure the perfect shingle installation. Once your roof starter is installed, you are ready for shingle application. Here are the steps to shingle a roof with IKO Crowne Slate shingles:
1. Cut off the entire left tab of the initial shingle. Lay it flush with the roof starters at the eaves and rake
2. Cut off a tab and half of the second course
3. Cut off two full tabs for the third course
4. Cut off two and a half tabs for the fourth course
5. Repeat the sequence until all shingles are laid
6. Cement each shingle at the rake edge and use eight nails per shingle for maximum wind protection.
7. Use coordinating IKO capping shingles to finish it off. Watch our video for roof cap installation instructions.
Remember to always drive the nails straight so that the nail head is flush. Otherwise, nail heads will be left sticking up and can tear into the shingle that is applied above.
Part 16 – Low Slope – Roof-Fast Application – Part 10
In this video, we provide step-by-step instructions on how to install a self-adhesive roofing membrane system for low-slope residential applications.
We discuss the installation of the IKO’s Roof-Fast membrane system which is designed for low-slope flat roofs (from 2:12 down to 1/2:12).
The IKO Roof-Fast system is comprised of the Roof-Fast Base MA and IKO’s Roof-Fast Cap, creating a multi-layer roofing system that provides an optimal level of protection against leaks.
These self-adhesive roofing membranes are specifically designed to help protect homeowners against the potential water damage that low-slope roofs are susceptible to.
Their peel-and-stick cold application and availability in single, double, or triple-layer reinforcement make them a popular choice for roofs with at least a 1:12 slope.
Part 17 – Roof Vent Installation
In this video, we provide step-by-step instructions on roof vent installation (static vents, ridge vents and rapid ridge vents) and talk about the importance of ventilation.
Proper ventilation is necessary to mitigate attic heat build-up and to avoid condensation problems that may cause dampness to rot the roof deck and distort the roofing materials. Balanced attic ventilation allowing unobstructed airflow is critical to the optimum performance of an asphalt shingle roof system and is a requirement for full coverage under IKO’s limited warranty. Ensuring you have the right number of both intake and exhaust vents is a central part of roof design.
Prior to roof vent installation, you will need to determine what type of vents the home needs and how many are needed based on calculating the amount of ventilation that’s required. Always follow the vent manufacturer’s specific installation instructions for the vent system you’re using.
Part 18 – How to Install Roof Flashing
Roof flashing is needed as protection when the roof planes butt up against vertical walls at the end of each shingle course. These rectangular pieces of metal flashing are approximately 10 inches long and at least 2 inches wider than the face of the shingle being used. The 10-inch length is bent in half so that 5 inches will reach up the wall surface and the other half will extend onto the roof deck.
Step flashing is placed on the first row of shingles against a vertical wall or structure. Embed the step flashing piece in a 3-inch-wide application of asphalt plastic cement and nail it to the roof deck with two nails. As you make your way up the roof, ensure that the metal flashing piece is positioned in each core so that it will be completely covered by the overlaying shingle. The end of each shingle adjacent to the wall must be embedded in a 3-inch-wide application of asphalt plastic cement.
Here are instructions on how to install roof flashing in different areas:
– Flashing laps should never buck or obstruct the flow of water
– Chimney roof flashing is secured to the roof cover of the shingles and counter, or cap flashings are secured to the chimney, providing a waterproof seal
– For roof pipe flashing around soil stacks, shingle up to the bottom of the stack, then slide the flashing over the soil pipe and into place. Continue shingling to fit around the stack. Cut shingles should be laid in a bead of asphalt cement.
Part 19 – How to Install Hip & Ridge Shingles
Hips and ridges are one of the most vulnerable parts of any roof and deserve proper protection while still looking their best. That’s why IKO Ultra HP and IKO IR Hip and Ridge Capping Shingles were designed to provide a high-quality and high-profile alternative to using cut-up shingles on hips and ridges. IKO’s PROFORMAX Integrated Roofing Accessories include different types and widths of cap shingles to install as part of a multi-layered roofing system. They provide a stunning roofline and ensure that the roof can perform its best. This video details how to install hip and ridge shingles.
IKO Standard Capping Shingles are factory perforated for easy separation and made on a flexible fiberglass mat with an SPS-modified adhesive on the granular surface for maximum wind resistance.
Apply hip and ridge shingles up to a hip or ridge from both sides of the roof before you finish the intersection. Apply cap shingles in a traditional single-dimensional thickness in appearance, or as a double thickness by stacking two pieces on top of one another to create a three-dimensional effect. Use the perforation marks to separate the cap shingles into pieces and bend each piece over the hip or ridge and overlap successive pieces to yield a 5 5/8-inch exposure, which is how much shingle is exposed on a ridge cap. Nail on each side of the capping piece below the factory-applied sealant buttons.
If you’re installing an impact resistance shingle, such as IKO Nordic, use coordinating Ultra IR Ridge Cap Shingles. In high wind areas, seal each IKO Ultra HP shingle with two 1-inch spots of asphalt plastic cement. For extra definition, install IKO Ultra HP at the gable and rake edges as well.
Apply hip shingles starting at the lower end of the hip and work your way up towards the ridge. On roof hips, apply ridge shingles starting at each end and meeting in the middle. Set the final shingle and asphalt plastic cement and cover the exposed nail head to the final shingle with a cement tube.
Part 20 – Inspection and Clean Up
The final step after installing a new roof is to give your project a professional finish by cleaning up after roofing and the final roof inspection. This includes debris cleanup such as removing all shingle debris from the roof, valleys, and gutters, removing the roof debris tarps to easily remove old shingles, wrappers, granules, and nails, flushing out the eavestroughs to ensure unobstructed water flow and using a magnetic roof sweeper to remove nails and metallic debris from the driveway and yard. This will leave the homeowners with a lasting good impression. Before leaving the job site, you should also consider asking the homeowner or business owner to leave a positive review online for your roofing business and their new IKO shingles.
Part 21 – Roof Care and Maintenance – Part 15
This video covers shingle roof maintenance tips. Every homeowner should ensure a professional regularly inspects and performs shingle roof maintenance.
While a roof will provide years of protection, there are some aspects of continuing roof care that you should be aware of to ensure maximum roof performance. Whether you’re a homeowner looking to maintain the life of your roof system, or a roofing professional educating your client on the benefits of regular inspection and repair, committing to a consistent roof maintenance schedule is like a well-constructed roof — well worth the investment. Keeping a roof in healthy condition leads to a well-protected home.
Part 22 – IKO Shingle Portfolio
In this video, we provide a helpful review of IKO roof shingles by asphalt shingle types and styles.
There is no such thing as ‘one size fits all’ when it comes to selecting IKO roofing shingles. IKO’s asphalt shingle portfolio has options for everyone. Our high-end Designer collection includes Armourshake, Crowne Slate and Royal Estate. These asphalt shingles provide the beauty and luxury of authentic shake or slate roofing but without the associated maintenance and upkeep. This collection will appeal to homeowners who plan to stay in their upscale homes for years to come.
Nordic and Dynasty make up IKO’s Performance collection. These asphalt shingles are engineered to stick up against severe weather.
IKO’s Architectural Collection includes Cambridge and Cambridge Cool Colors. Cambridge laminated shingles are very popular with folks who want a beautiful roof or to increase the selling price of their home by reroofing at a moderate cost. Cool Colors was designed with California’s Title 24 Part 6 environmental standards in mind.