Roof Inspection Checklist
According to the experts, more people in more places are experiencing devastating weather events. Storm, hail, and high winds are no longer exclusive to the specific regions in North America that they used to be. A storm can come out of nowhere. When it does, as a contractor, things can get very busy very fast for you. Here are a few tips for contractors during storm season. You and your crews are like first responders when a homeowner’s roof needs an emergency rescue. Encourage people to perform visual roof inspection safely from ground level both before and after a storm. Any shingles that have curled up or blown off will need to be replaced. Invite homeowners to book a proper roof inspection to address any potential problems before they start. Advise them to check their homeowners insurance policy to ensure that their coverage is adequate and up to date before a weather event occurs. Let them know that after a storm has damaged their roof they’ll need to contact both their insurance representative and a roofing contractor who will work together on their claim. IKO Nordic and Dynasty performance class shingles are a homeowner’s best defense against the elements you can recommend them and their limited warranties with total confidence. Work with your local IKO sales rep to make sure that you have all the digital versions of IKO literature so that you can answer any questions that your prospects may have. IKO wishes you a healthy and safe roofing season.
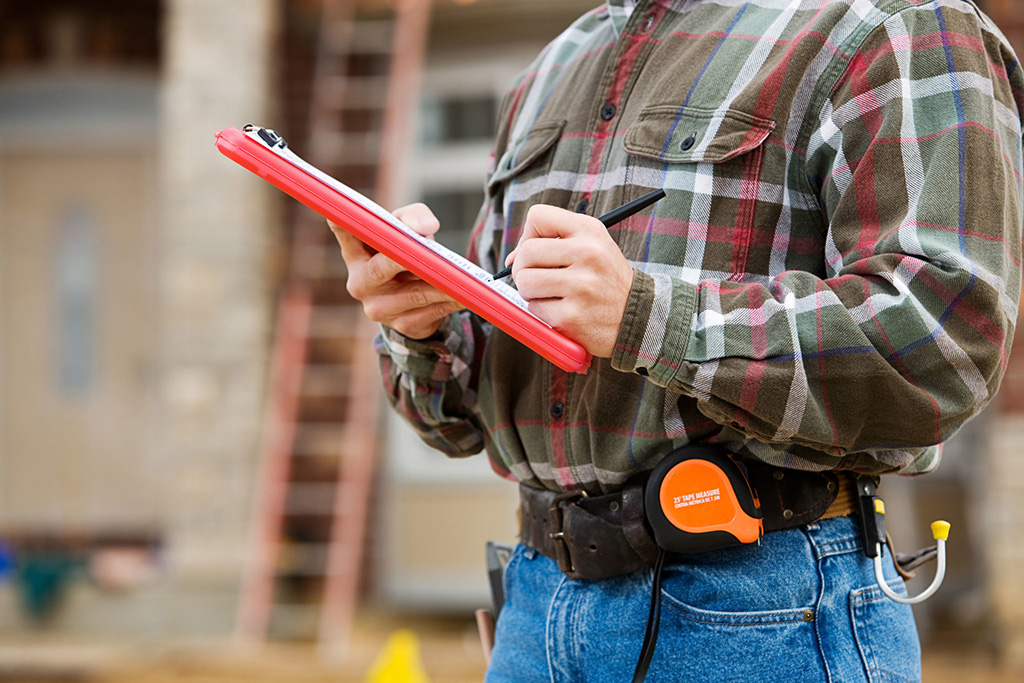
Why Do I Need A Roof Inspection?
At IKO, we recommend that homeowners have their roof inspected on a regular basis. It’s like going to the doctor for an annual check-up. You may catch potential problems early and potentially prevent them from becoming more serious.
While we recognize that repairing your roof is never convenient; it pales in comparison to the cost and inconvenience of ignoring the impact of what your roof has endured over the years.
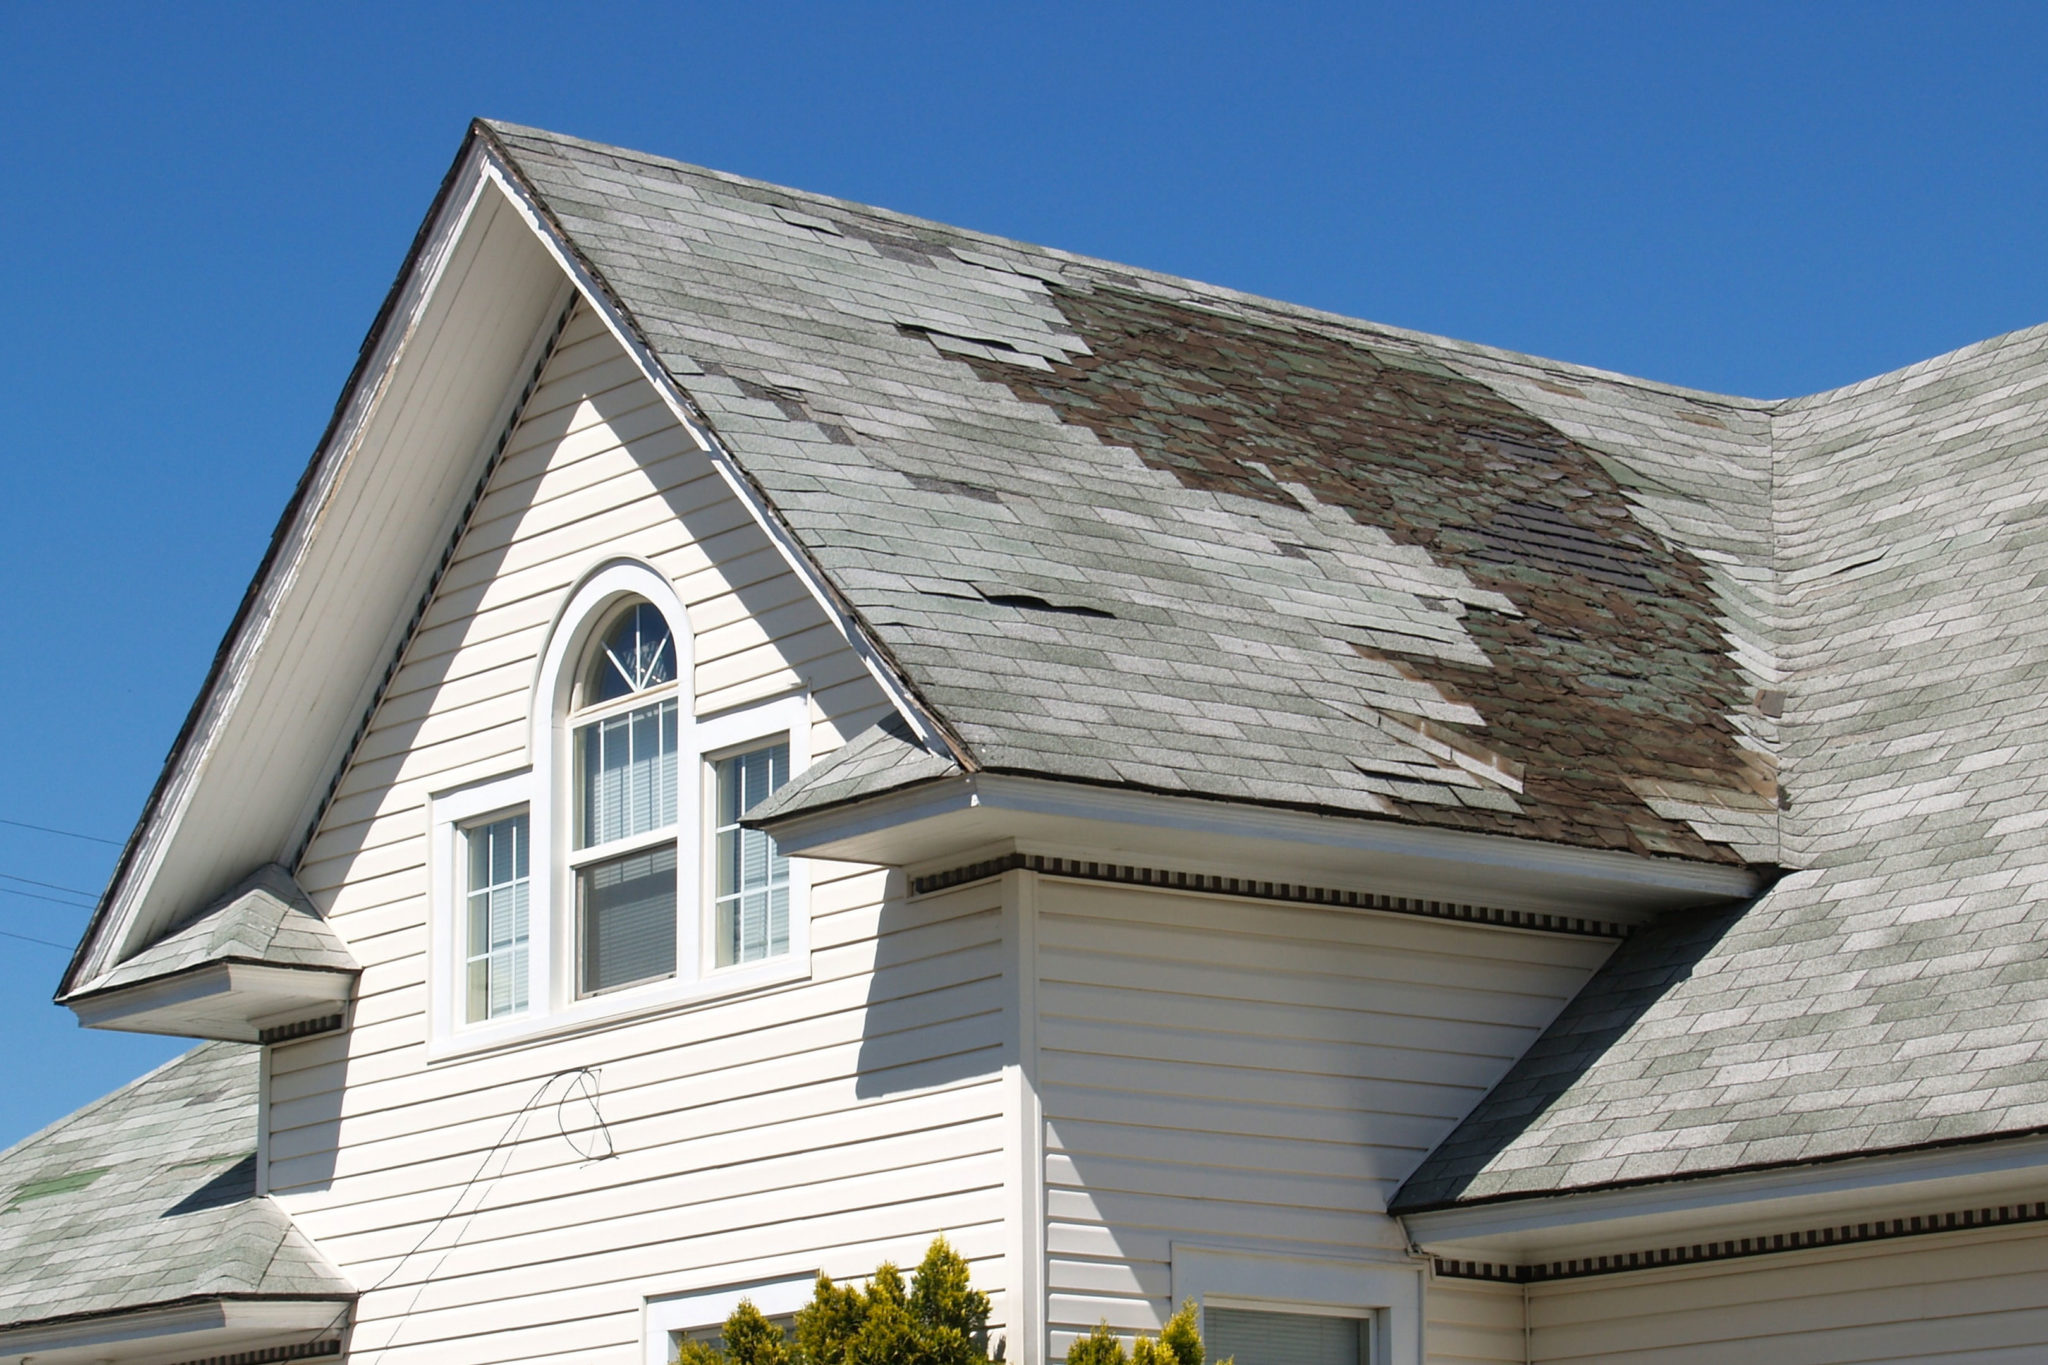
The Older Your Roof, the More Vulnerable it Becomes.
Even if your roof and its shingles appear to look fine, a careful inspection may reveal less obvious damage, so don’t let a superficial appearance lull you into a false sense of security.
Some contractors provide a basic roof inspection, which consists of examining the exterior of the roof (sometimes only from street level) and basic components such as flashings. While this is necessary, a more thorough inspection can help identify areas of concern and items that could potentially lead to further (and more costly) damage.
The checklist below provides a good summary of both exterior and interior inspection tips. Please consult a professional roof inspector to complete a proper roof inspection. Do not attempt to complete the checklist yourself.
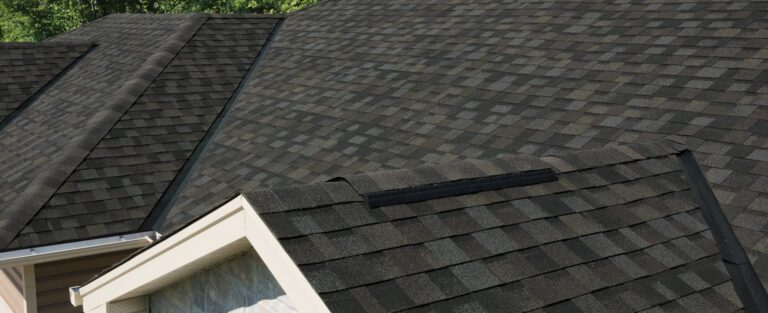
Exterior Roof Inspection
- Blistered, curled or split shingles.
- Loose or missing shingles.
- Loose or exposed nails.
- Improperly seated nails that “popped”.
- Broken or loose shingles at the ridge and hip lines.
- Signs of missing caulk to seal flashing.
- Rusty or corroded metal flashing.
- Damaged or missing flashing.
- Sagging on the ridges.
- Broken seals on shingles.
- Excessive granule loss on shingles.
- Examine chimney for cracks.
- Rubber boots at top of pipes for dry rot.
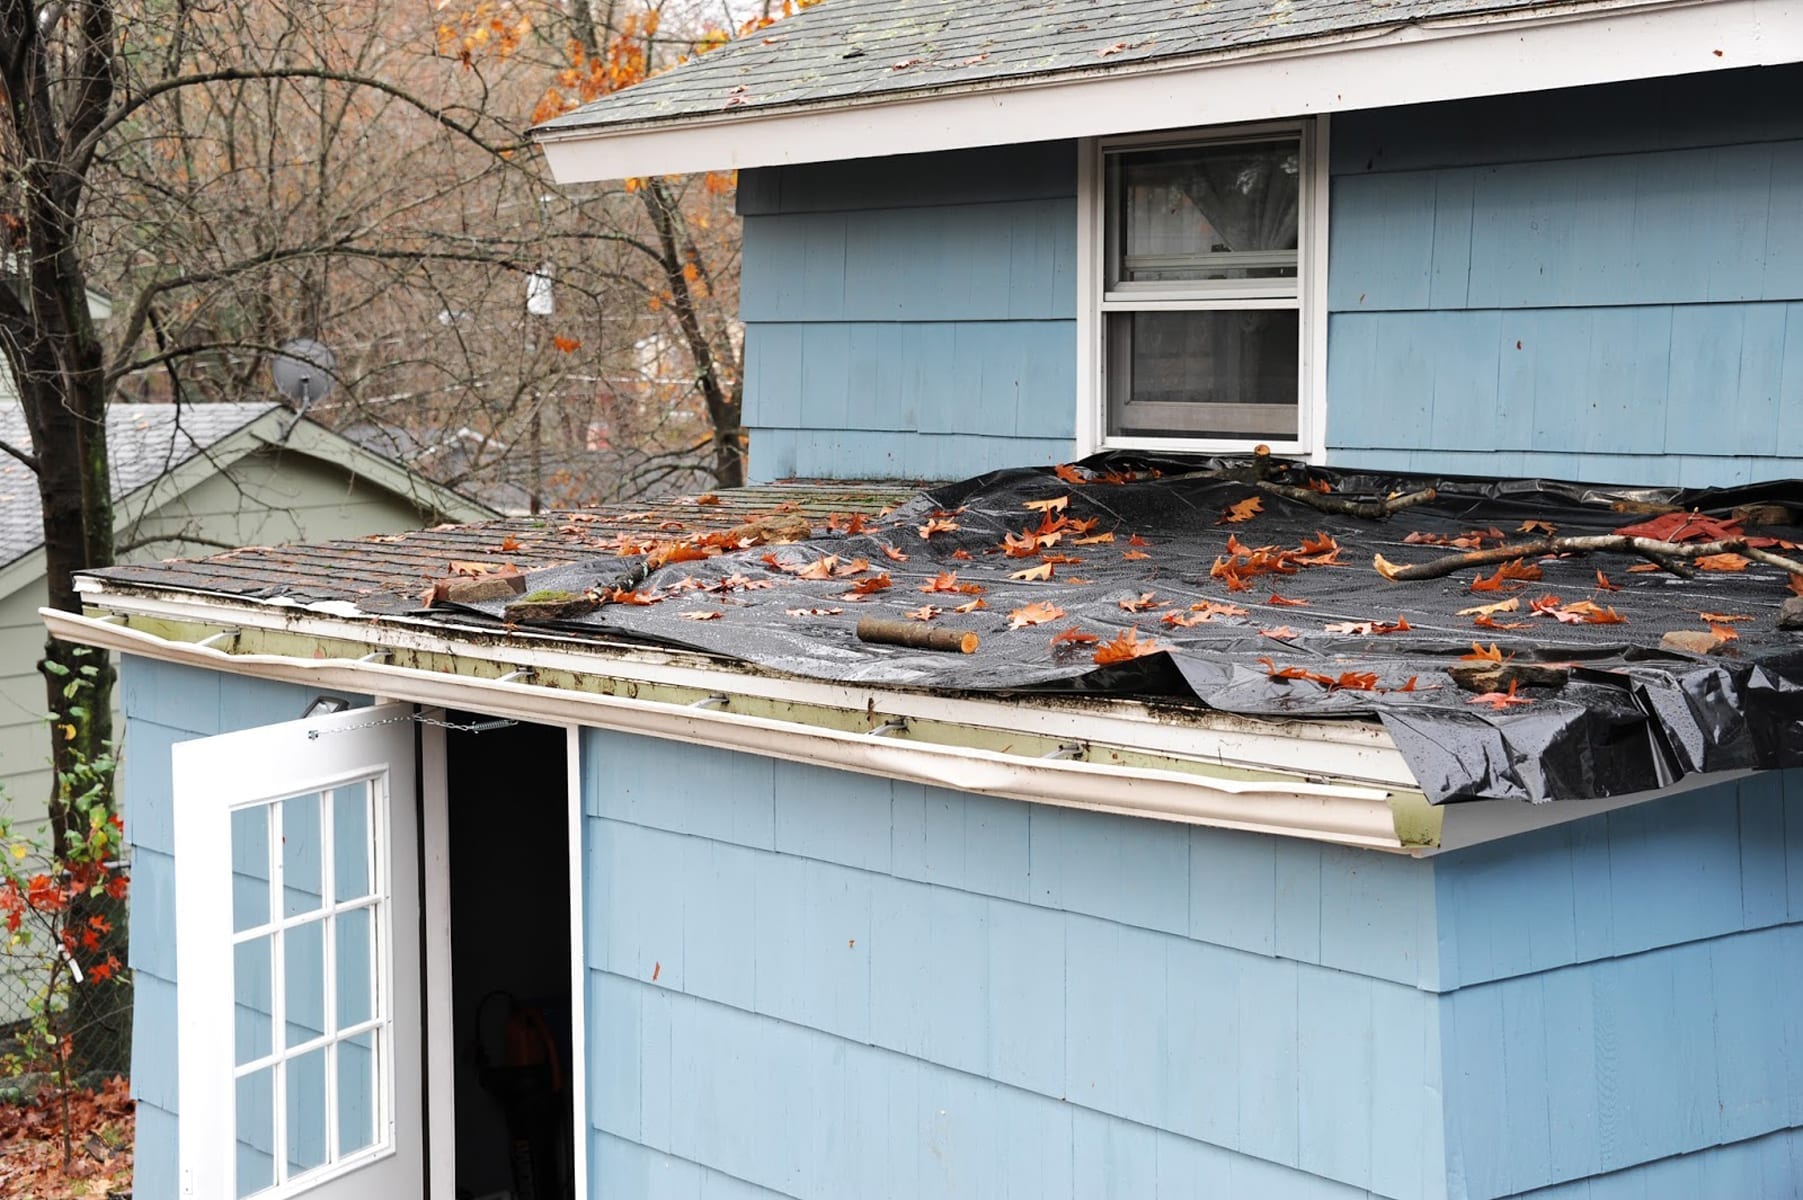
- Review gutters and downspouts.
- Examine fascia board for any damage or rot.
- Survey the condition of siding above the roof.
- Gutters and eaves for proper shingle overhangs.
Interior Roof Inspection
- Cracks on roof sheathing.
- Measure and calculate proper attic ventilation.
- Sagging decking (between rafters).
- Outside light coming through.
- Attic intake vents for proper ventilation.
- Bathroom and kitchen exhaust fans for proper ventilation.
- Leaks around vents, chimneys and other holes to the outside.
- Signs of condensation, wet insulation, or mold.
To find a qualified, reputable roofing contractor in your area, click here.